
Our adventures… our stories
Short Clips
“Short Clips” are quick hit videos (less than 60 seconds) that provide tips, chronicle our adventures, or tease longer content… just to wet the appetite!
Featured


“Short Clips” are quick hit videos (less than 60 seconds) that provide tips, chronicle our adventures, or tease longer content… just to wet the appetite!
If we aren't performing a more typical double-strand rappel but rather are rappelling on a joined rope but using a single strand, we may want an alternative to the flat overhand bend which provides superior strength and resists rolling. The stacked overhand does both. Here’s its comparative strength and a tutorial for tying it.
Climbing in a team of two is quite often done on a standard, single rope. But when we are climbing multi-pitch routes with certain risks, there may be times when twin ropes or half ropes may help mitigate those risks. And certain alpine or mountaineering objectives may emphasize weight and rope management characteristics. The full video goes deeper into assessing climbs and matching them to rope systems.
When we are no longer performing a more typical double-strand rappel when we have two ropes, we may want a rope joining knot that provides added strength and security when compared to the flat overhand bend. One such knot is the double overhand. Here’s a snapshot of how strong it is in comparison along with how to tie it.
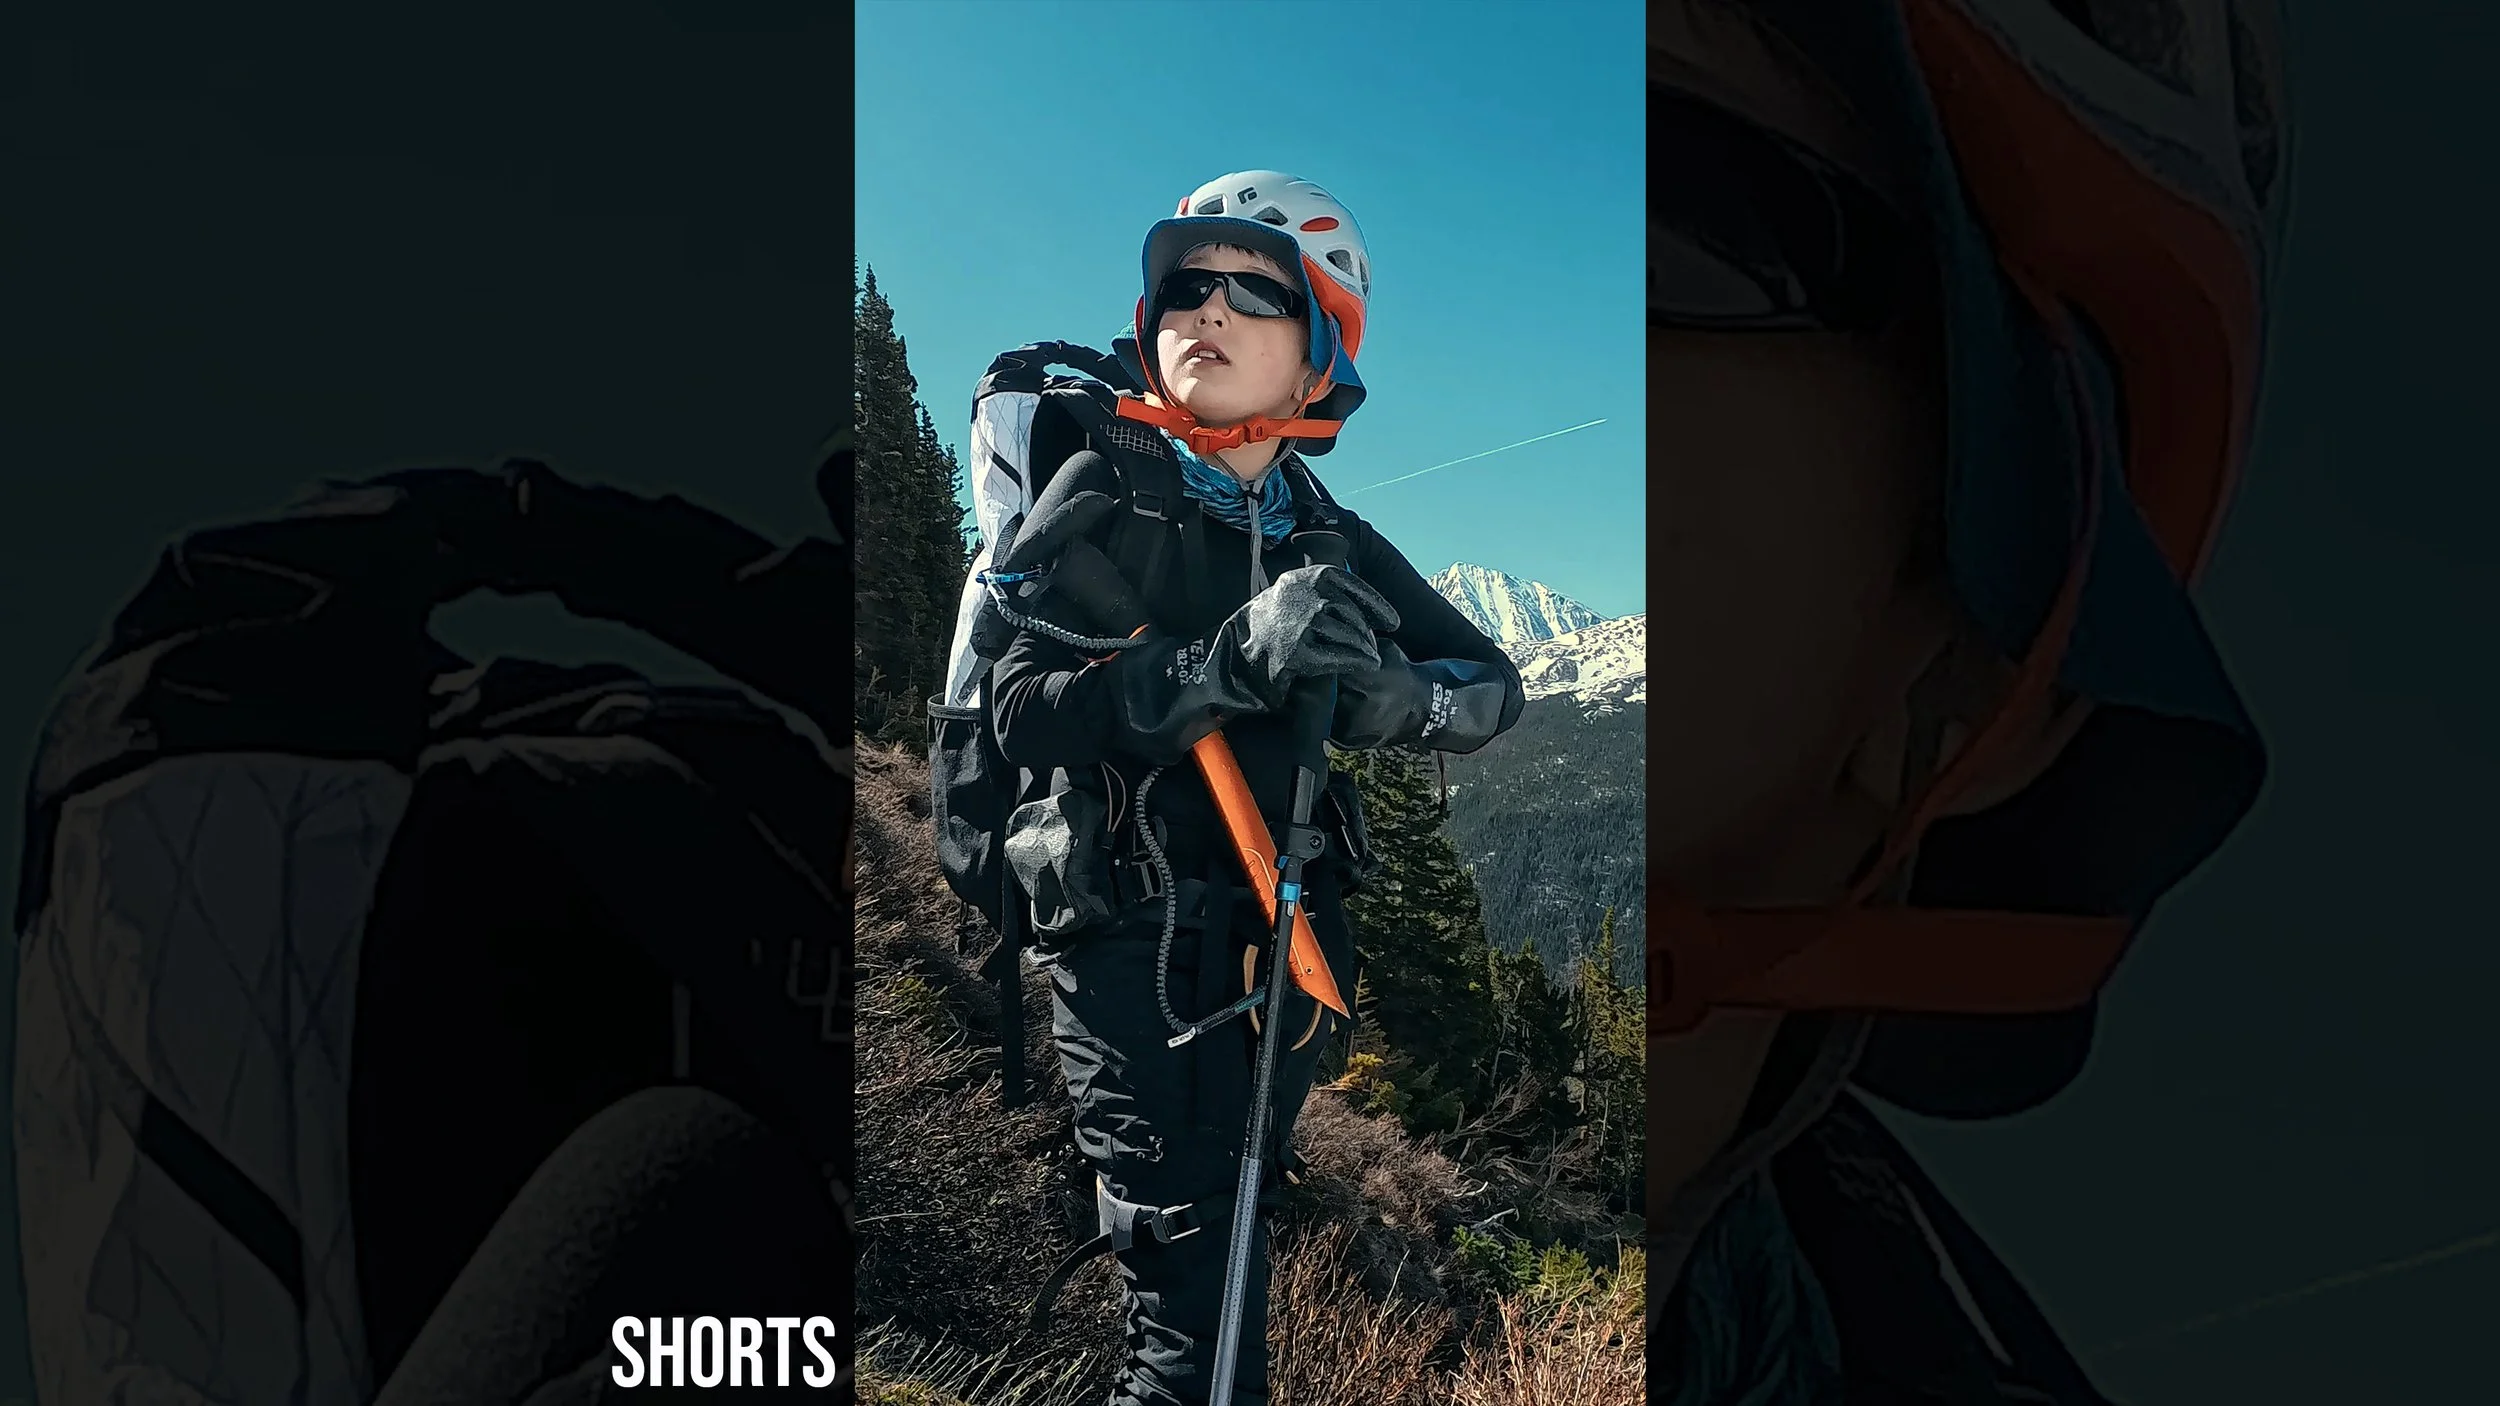
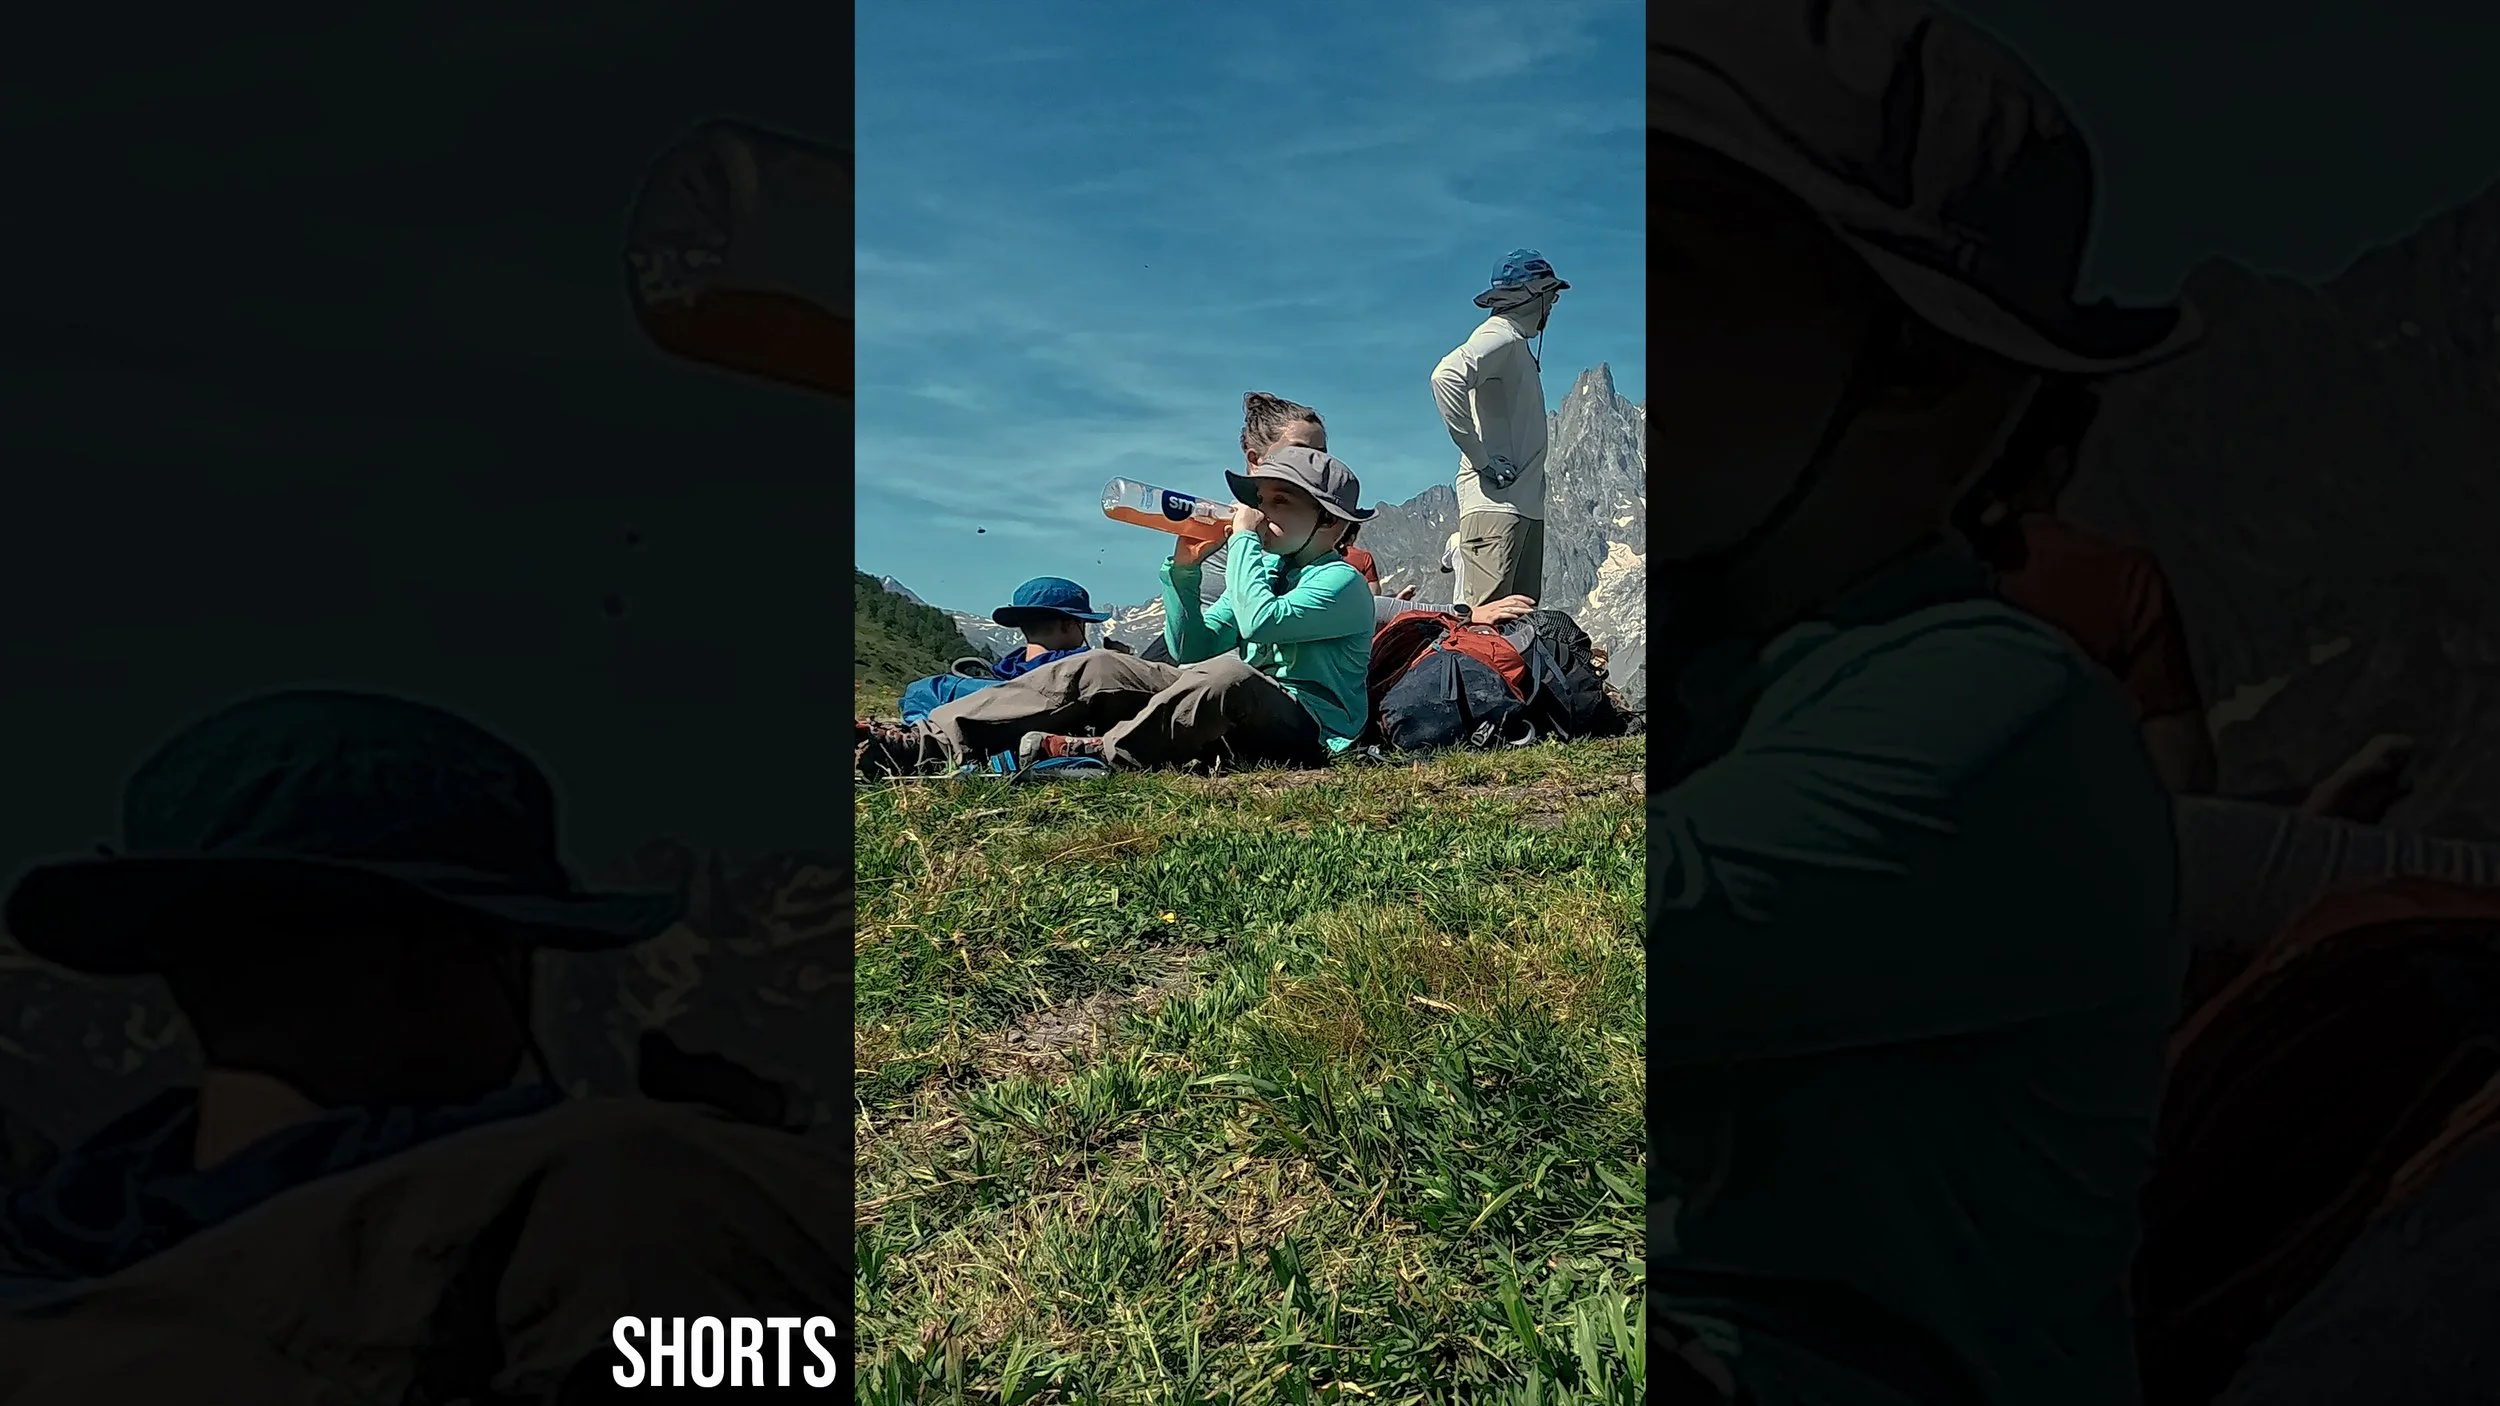
When I go out climbing with my twin boys, climbing as a team of three, I need to match my climbing rope choice to the risks of the particular climb. The full video goes through considerations for assessing the climb and matching it to a rope system.
When we are buying a new rope, we may look at the grams per meter to compare the weight of one rope to another. But really we should be comparing the grams per meter in combination with the static elongation. Here's why, and it explains why weighing the rope at home always ends up with a heavier rope than the grams per meter would indicate.
We often carefully choose the right rack, the right shoes, and the right clothing for our climbs. Well, we also want to choose the right rope. The full video gets deeper into some tradeoffs to consider when selecting a single rope, half ropes, twin ropes, or a single rope with a tagline for our route and objective.
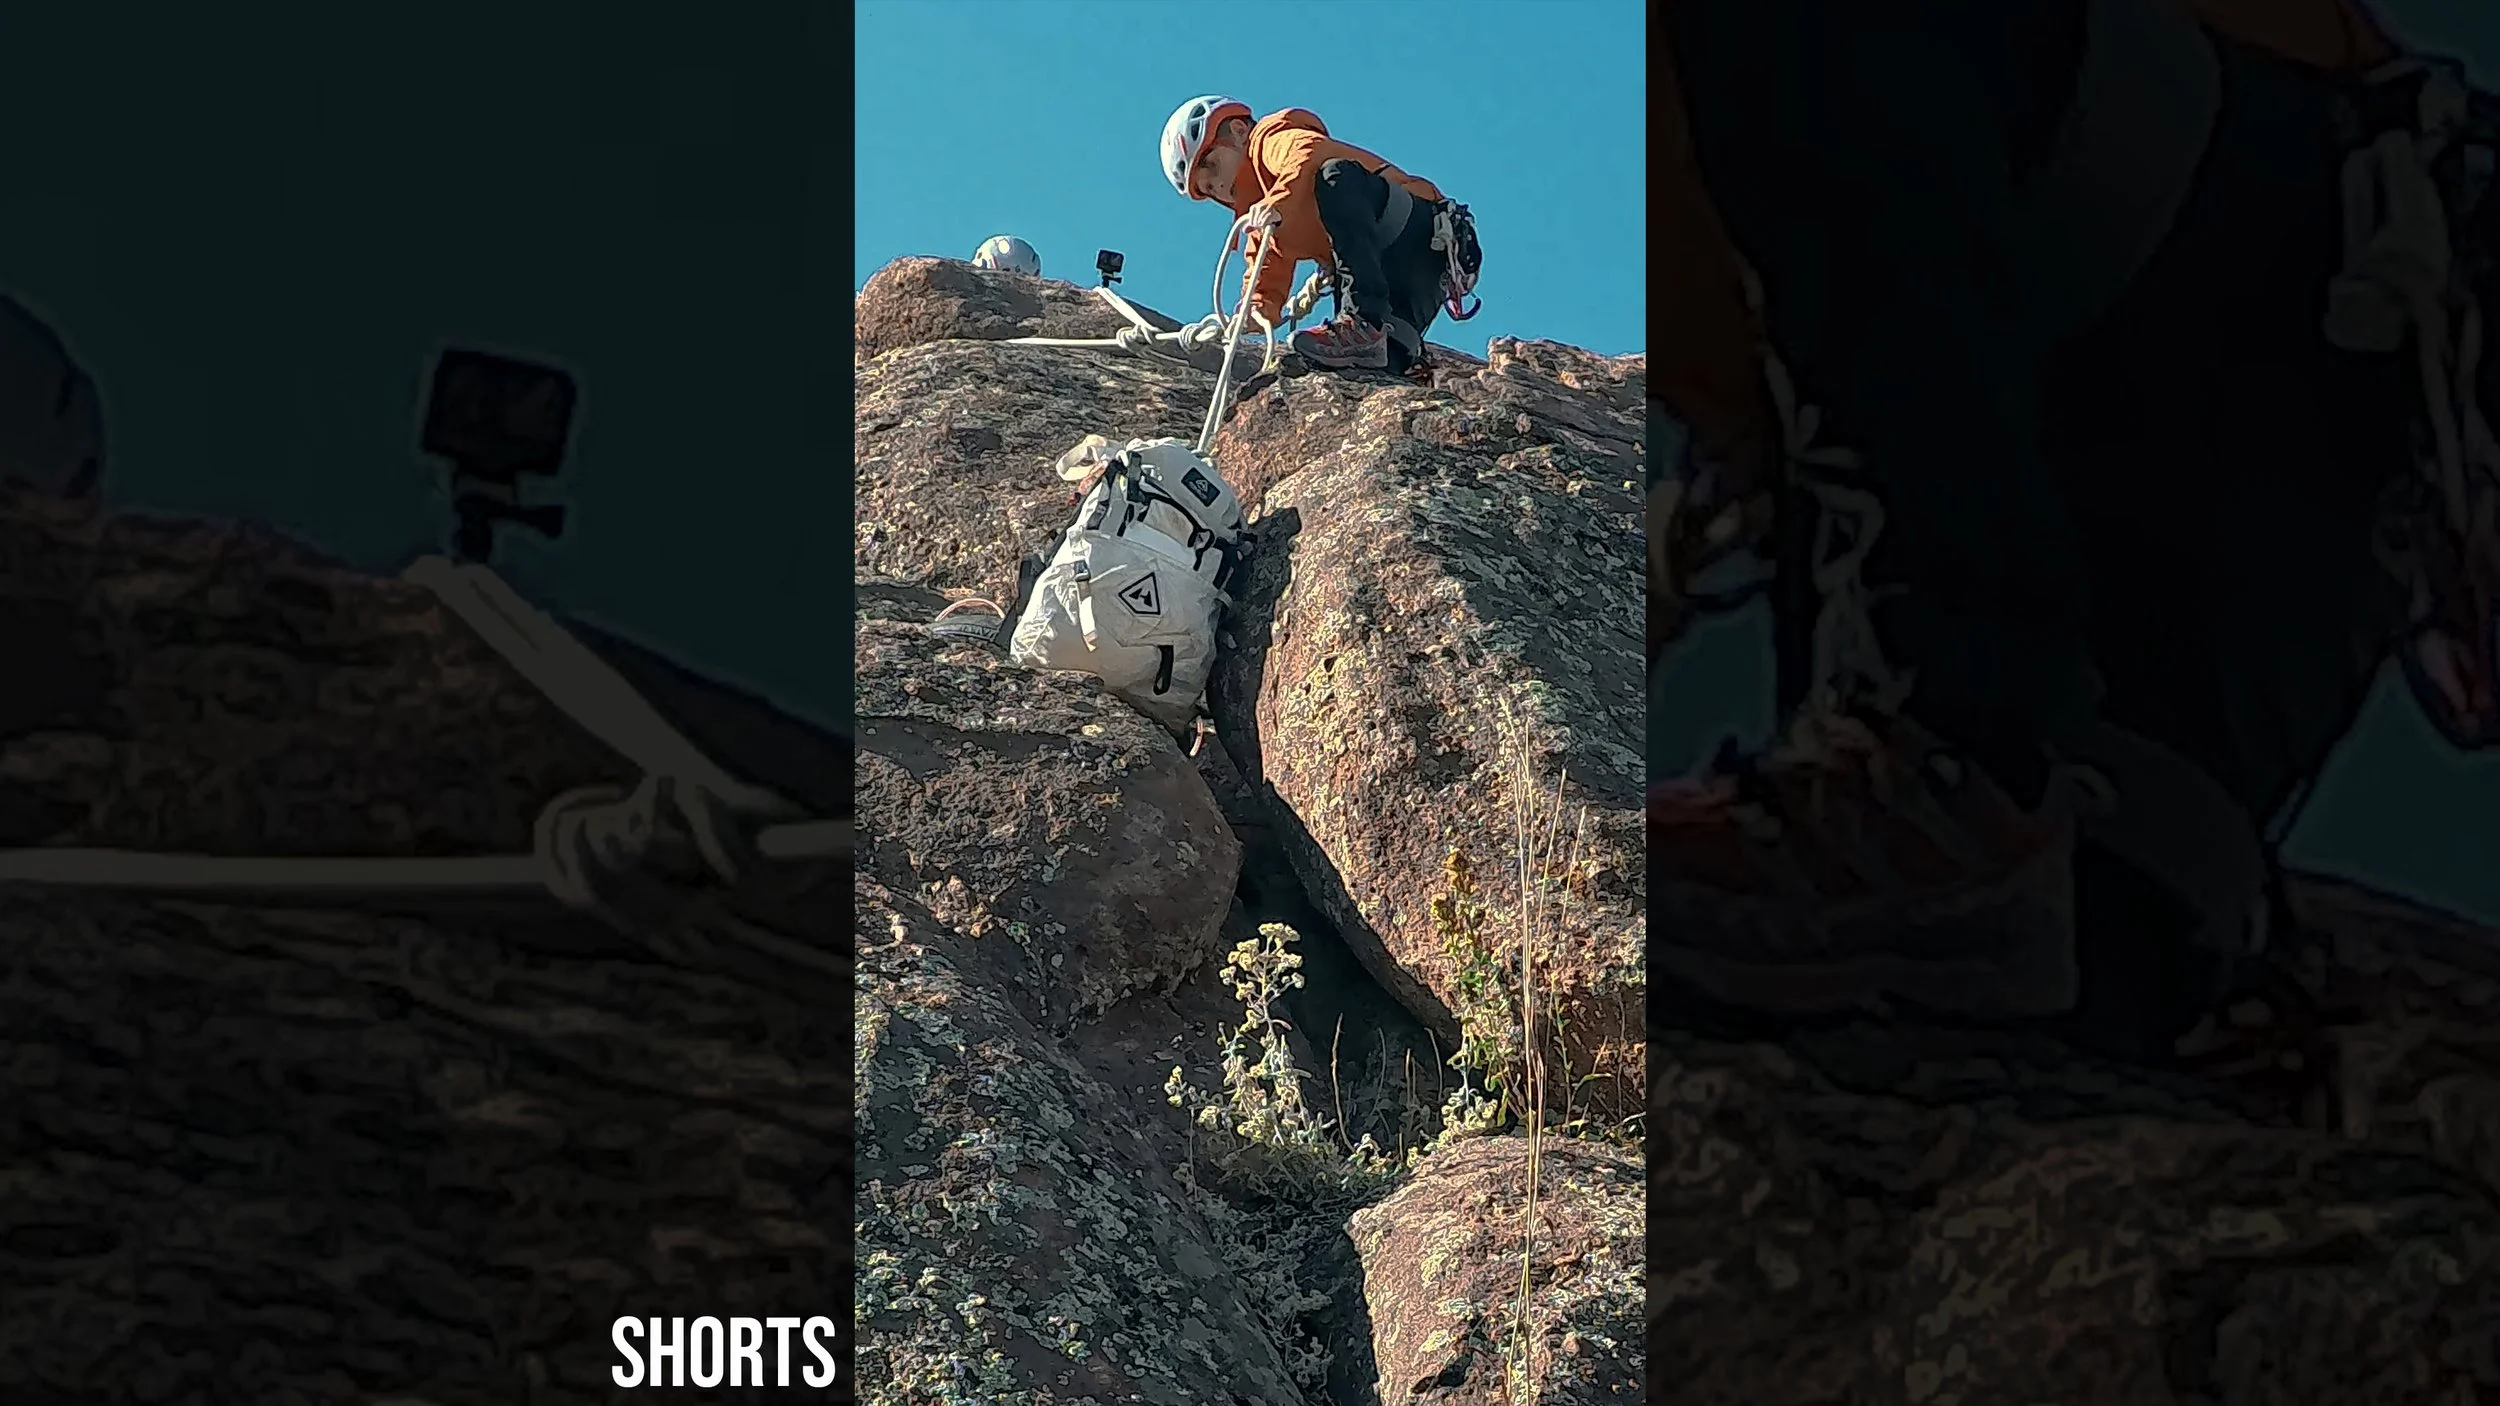
When we set a rappel strand, we want to ensure we can pull our rope cleanly, especially if on a multi-pitch climb where we need to perform many rappels. One of the things we can do to maximize a clean pull is think through how the rock features and the rappel points interact with our designated pull strand.
Climbing rope manufacturers publish a lot of numbers that describe how the rope will perform out in the field. But the numbers don't actually tell as straight forward of a story as we may wish. The full video goes through a host of metrics, how we interpret those numbers, and how they tell a story about the types of climbing risks one rope may mitigate better than another.
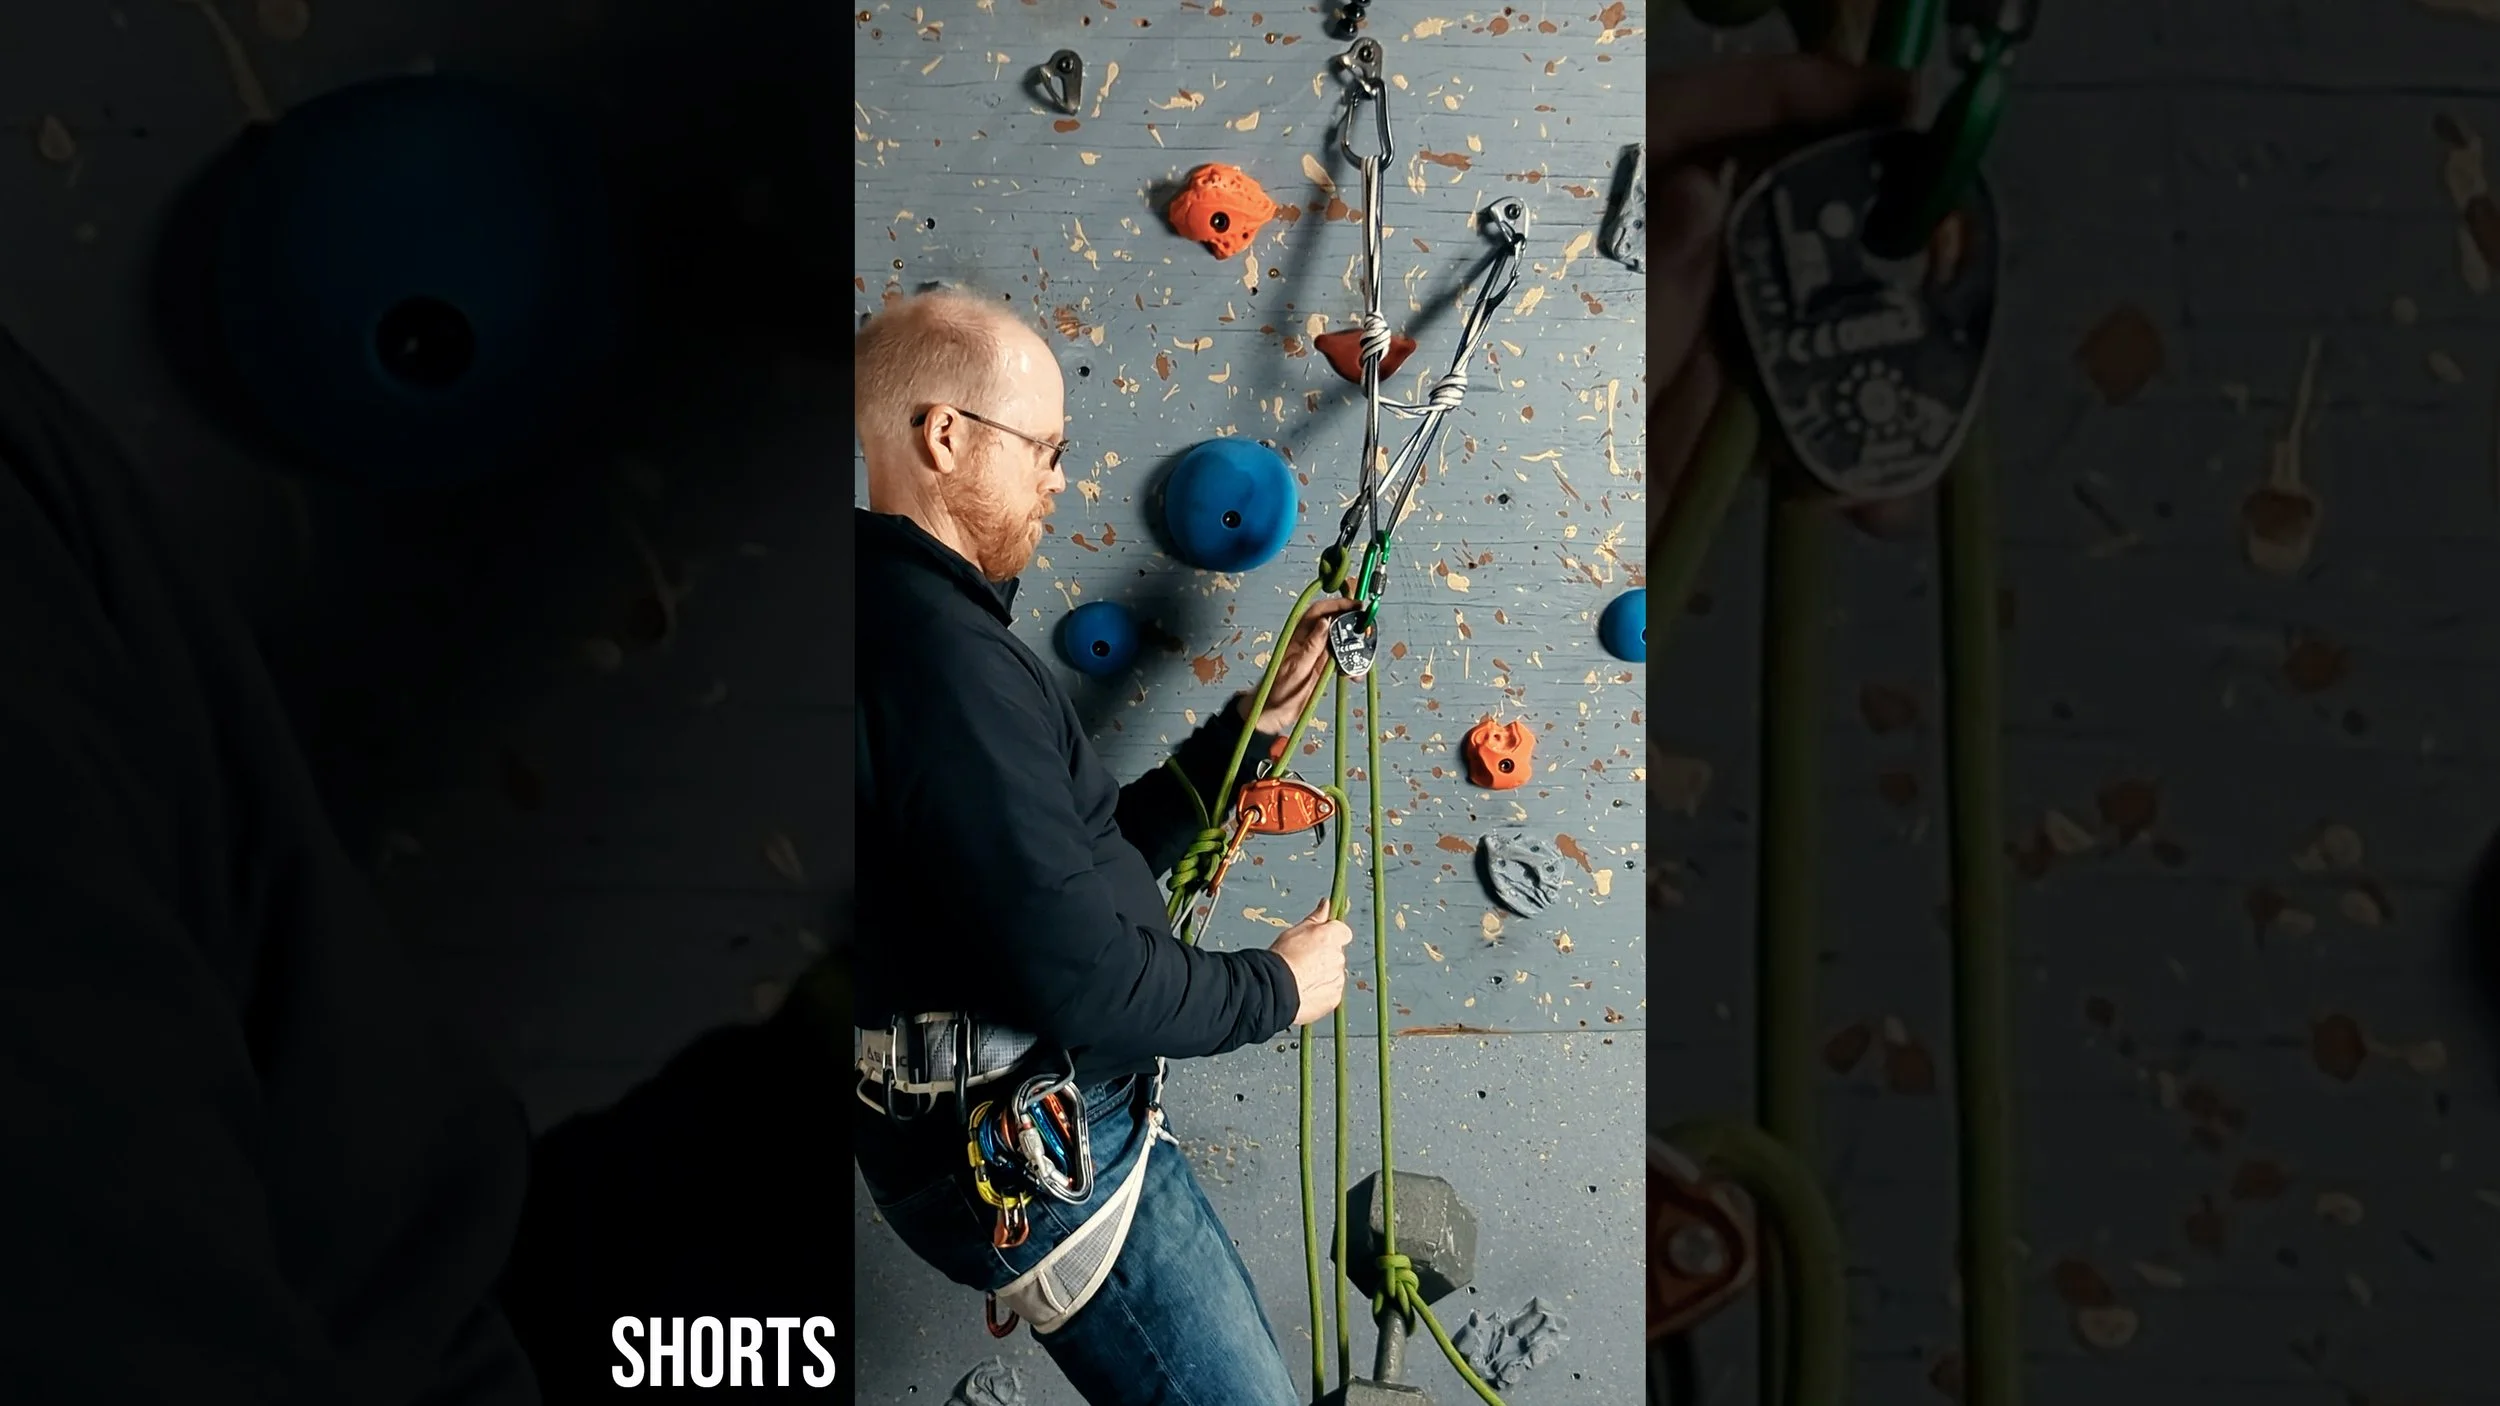
If we are hauling a bag or assisting a following climber, we might construct a 3-to-1 haul system at the anchor. If we find that isn't enough mechanical advantage for our haul, we can quickly convert that 3-to-1 system to a 5-to-1 system.
Adding on to our videos about crevasse rescue, we could have a situation where we set up a haul only to discover, after making contact with the victim, that we actually need to lower them, as there is a walk out possible from lower in the crevasse. Well, if we have a pully-and-cam based progress capture like a Petzl Micro Traxion already set up, we need to switch from raise to lower, and there could be some complications which the full video gets into.
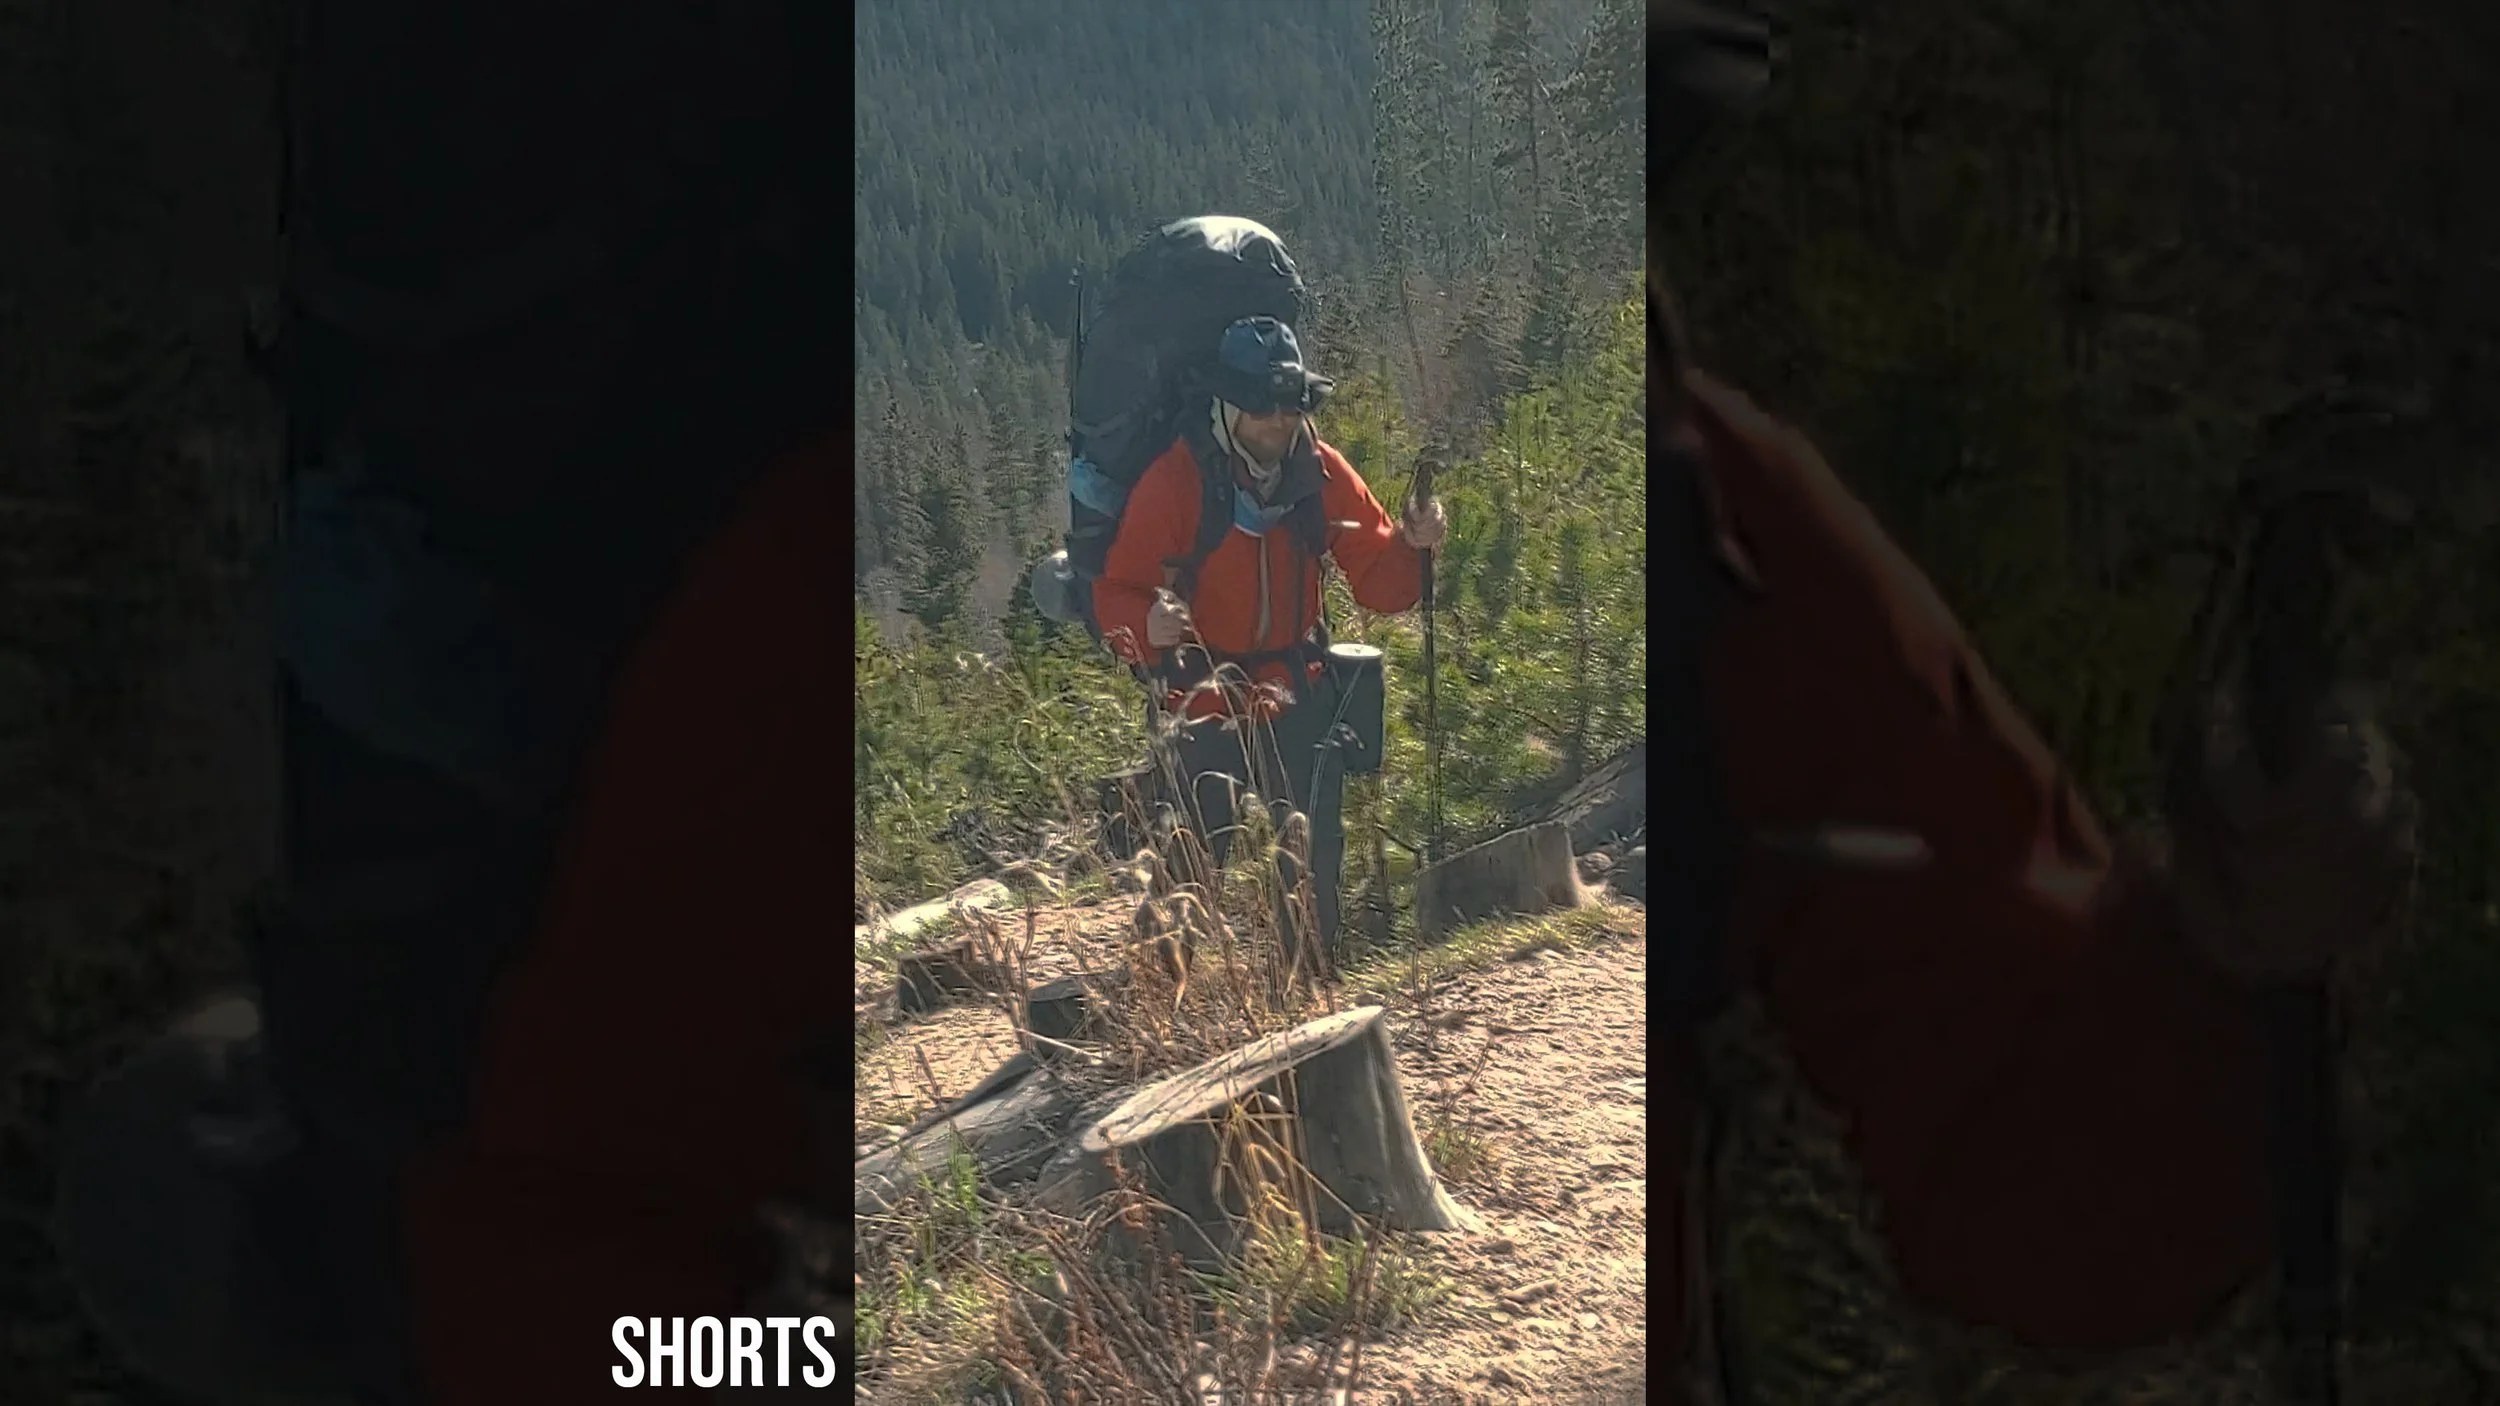
Some climbers have a reflex to think of weight as simply bad. More weight equals more problems. But weight is a trade off. What do we gain from carrying the weight? If we think of weight as a cost for value, we may make better tradeoffs that serve us on our climbs while still avoiding "packing our fears."
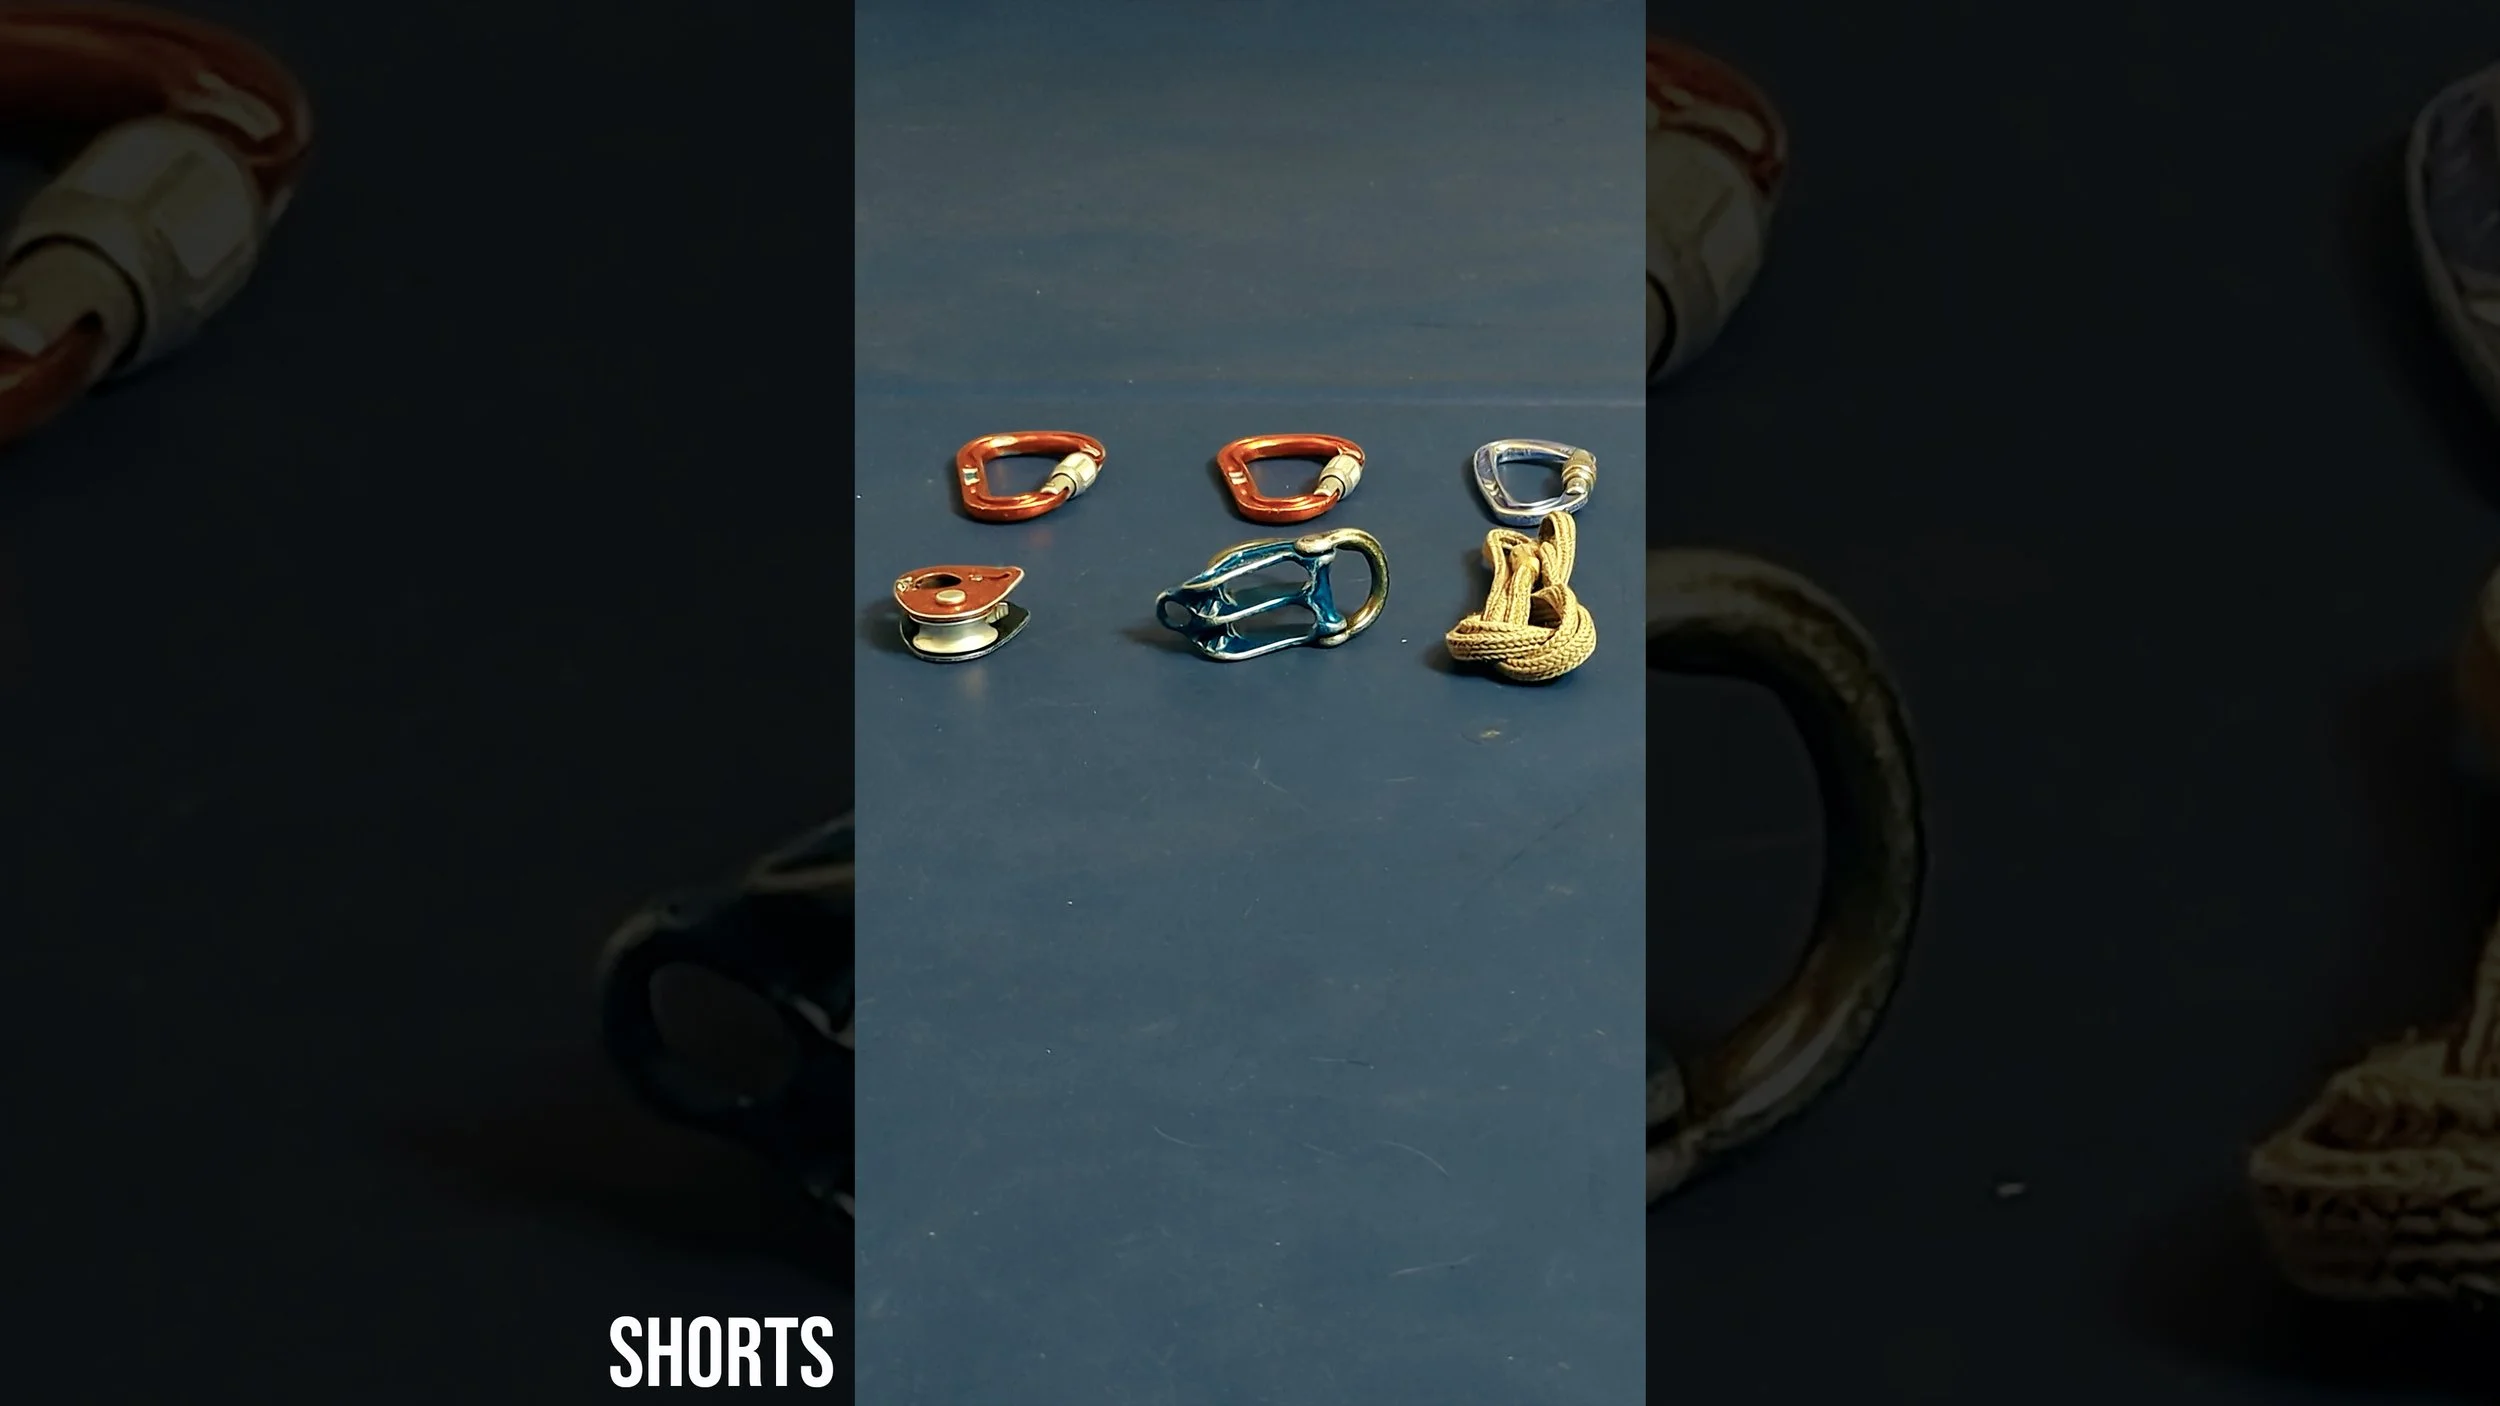
There are times on our climbs when we want the exact right tool for the job, squeezing the maximum amount of efficiency out of the gear as applied to the situation for which it was specifically designed. There are times we want a more general piece of gear that can be used in lots of ways even if it isn't ideal for any one particular situation. And then there are times we need to diversify gear for the unknown. The full video gets into all three of these strategies.
What are our climbing goals - not just the objectives but what we hope to get out of those climbs? Is what we gain worth the cost? I'm not saying don't climb; I climb a lot. But we ought to pause from time to time to ask if we are truly getting what we want out of the climbs we undertake. If not, we may be tactically sound but strategically at risk, meaning the costs we could incur may be higher than we should be willing to pay.
Like many things in life, the extremes often don't serve us or the community around us. When we are confronted with the emotional tension at the heart of climbing and adventure sports accidents, neither ridicule nor disengagement allows us to learn. Empathy is the path forward, as it allows for curiosity which, in turn, allows for learning. The full video goes deeper.
Just because you may lack experience compared to your climbing partner doesn't mean you shouldn't be involved in the team decision making. In fact, it means the opposite. Your voice matters, and when you use it, it contributes to the team's overall safety.
Like many things in life, the extremes often don't serve us or the community around us. When we are confronted with the emotional tension at the heart of climbing and adventure sports accidents, neither ridicule nor disengagement allows us to learn. Empathy is the path forward, as it allows for curiosity which, in turn, allows for learning. The full video goes deeper.
For Mental Health Awareness Month, we do videos on the mental aspects of climbing and adventure. As my body and fitness changes, and more importantly as my desires and values evolve, I find that my definition of what constitutes a successful day climbing may not always be what it once was. That's not necessarily a bad thing as I strive to put more back into the climbing community than I take out of it.
In a sport like climbing, and maybe particularly with alpine climbing and mountaineering with their long histories of rebellious individualism, it is somehow still easy to get trapped into others' definitions of success. If we have the courage to carve out our own definition of success, then maybe we can escape the potential trap of ever-contracting safety margins. The full length video goes deeper.
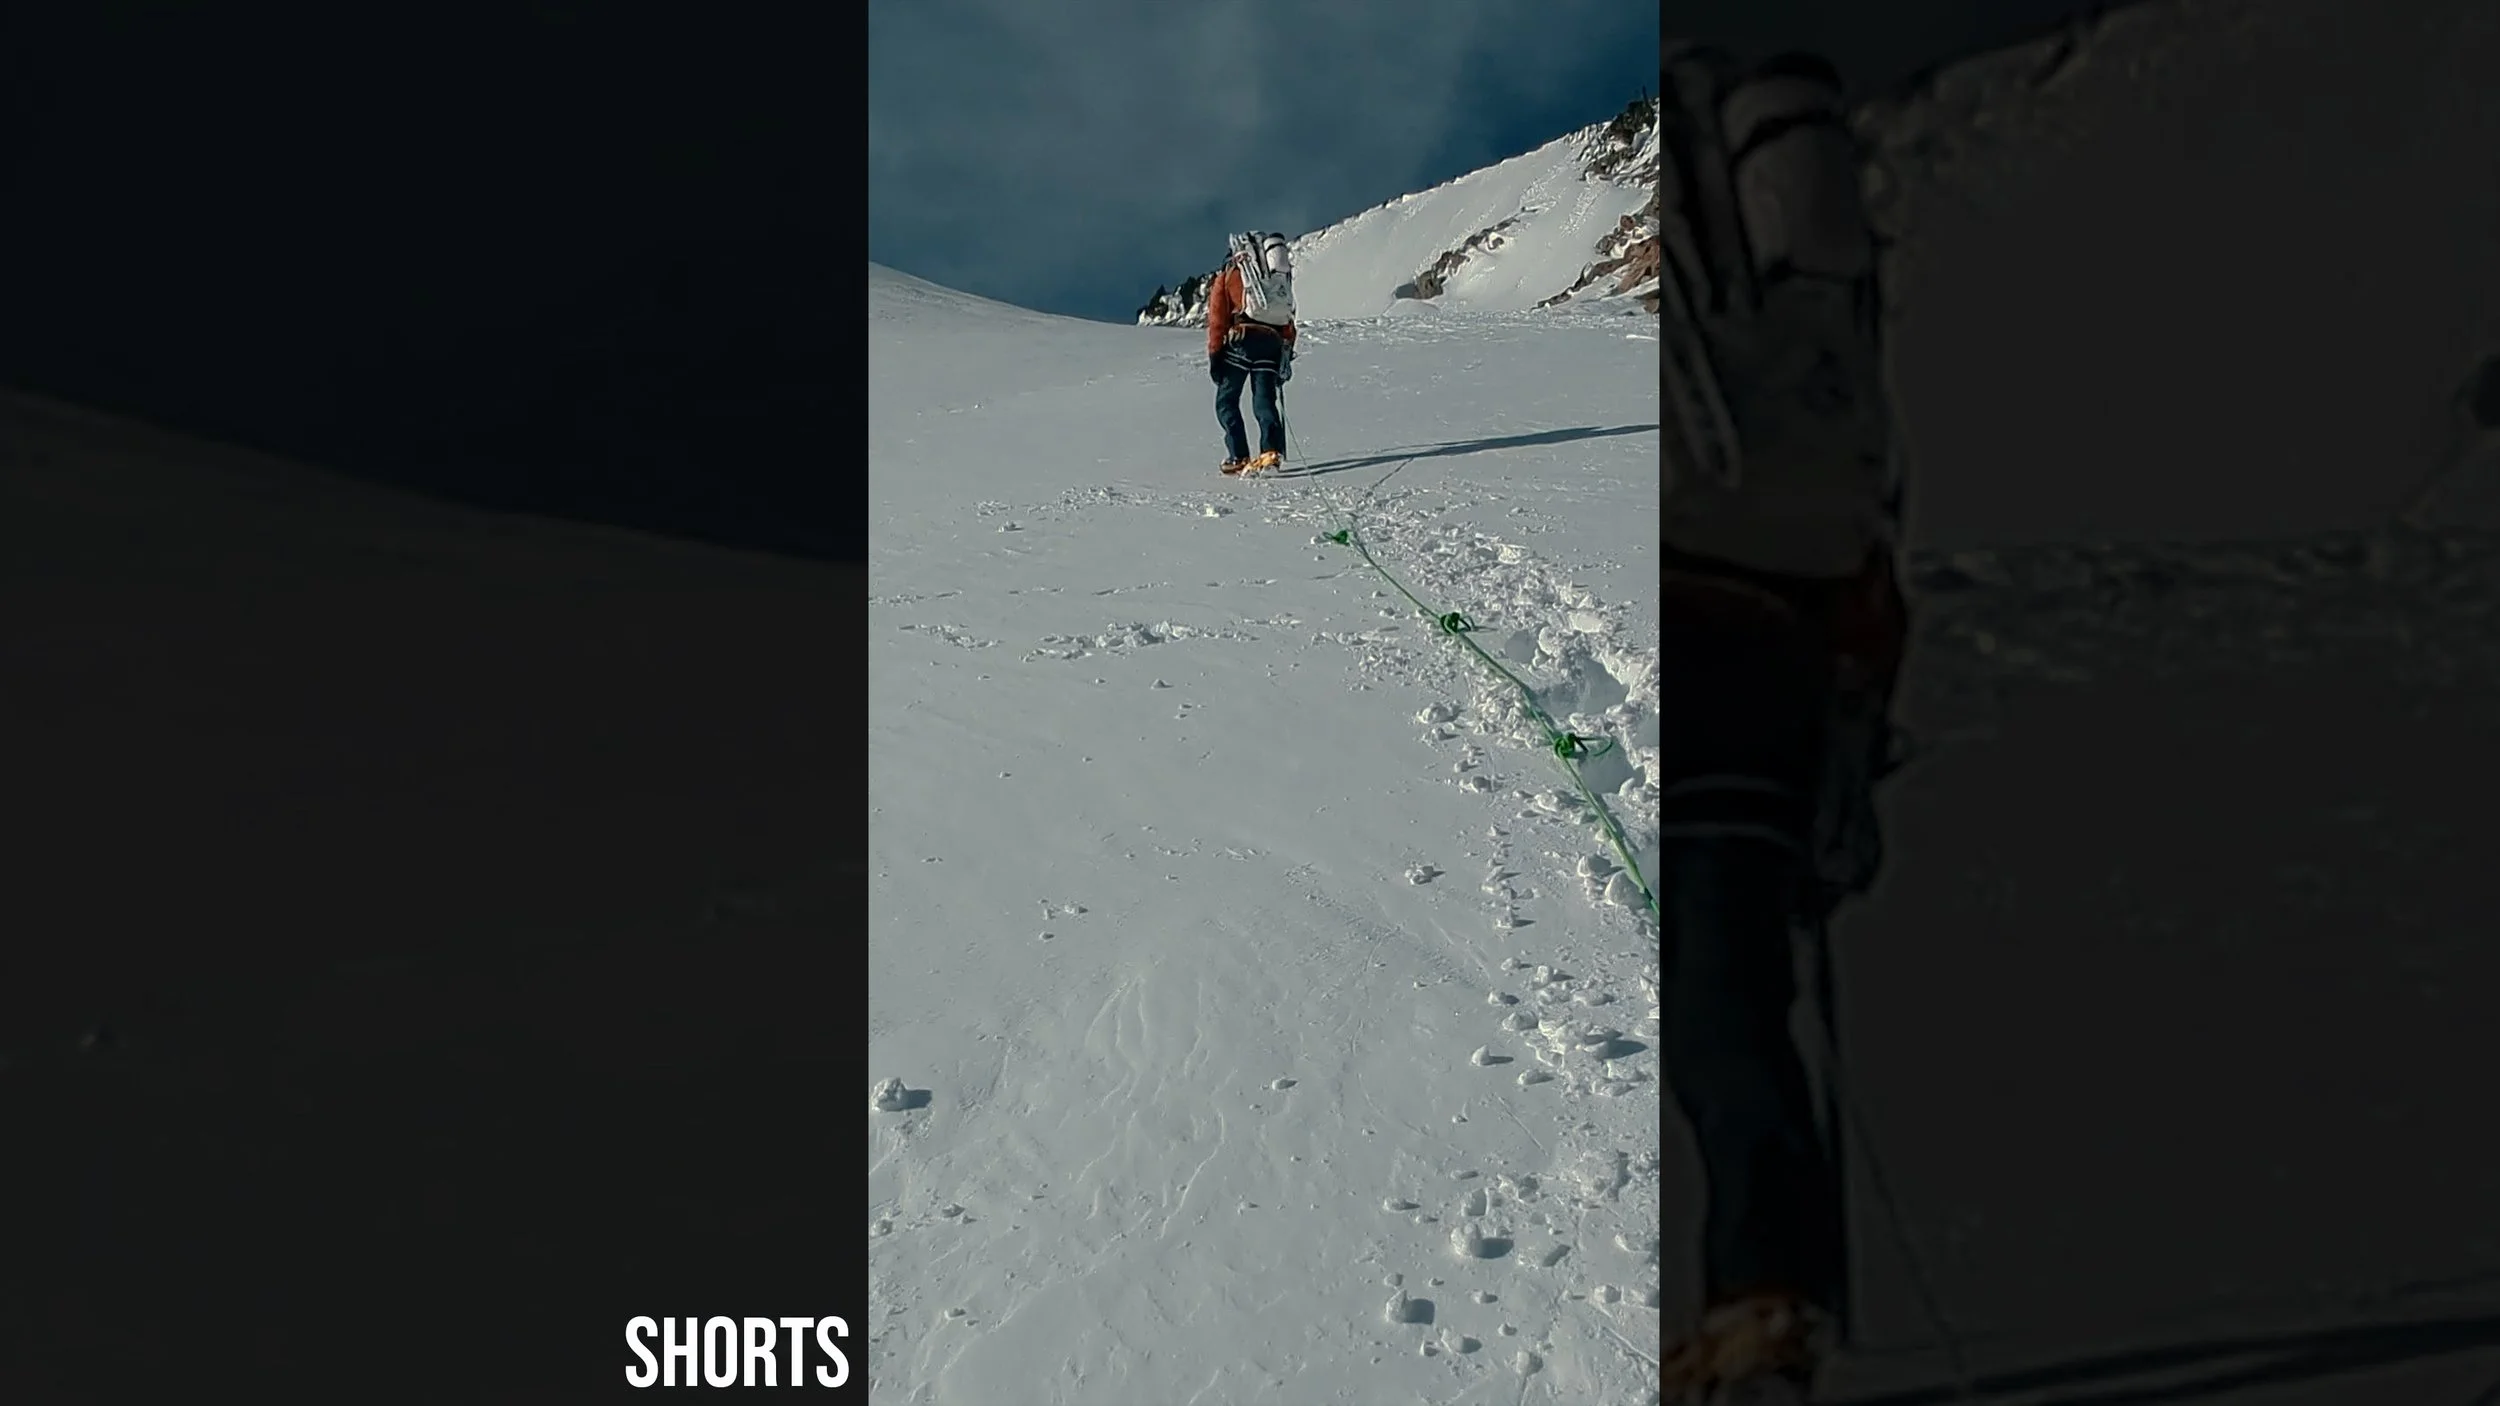
Climbing safety systems and techniques evolve over time. It's part of why we should stay continuously curious and be persistent learners. One example for me is what I was taught about roping up for glacier travel that is now no longer part of most recommended systems. Here's why a pre-rigged chest clip may not pass the cost-benefit calculation as part of our glacier travel setup.
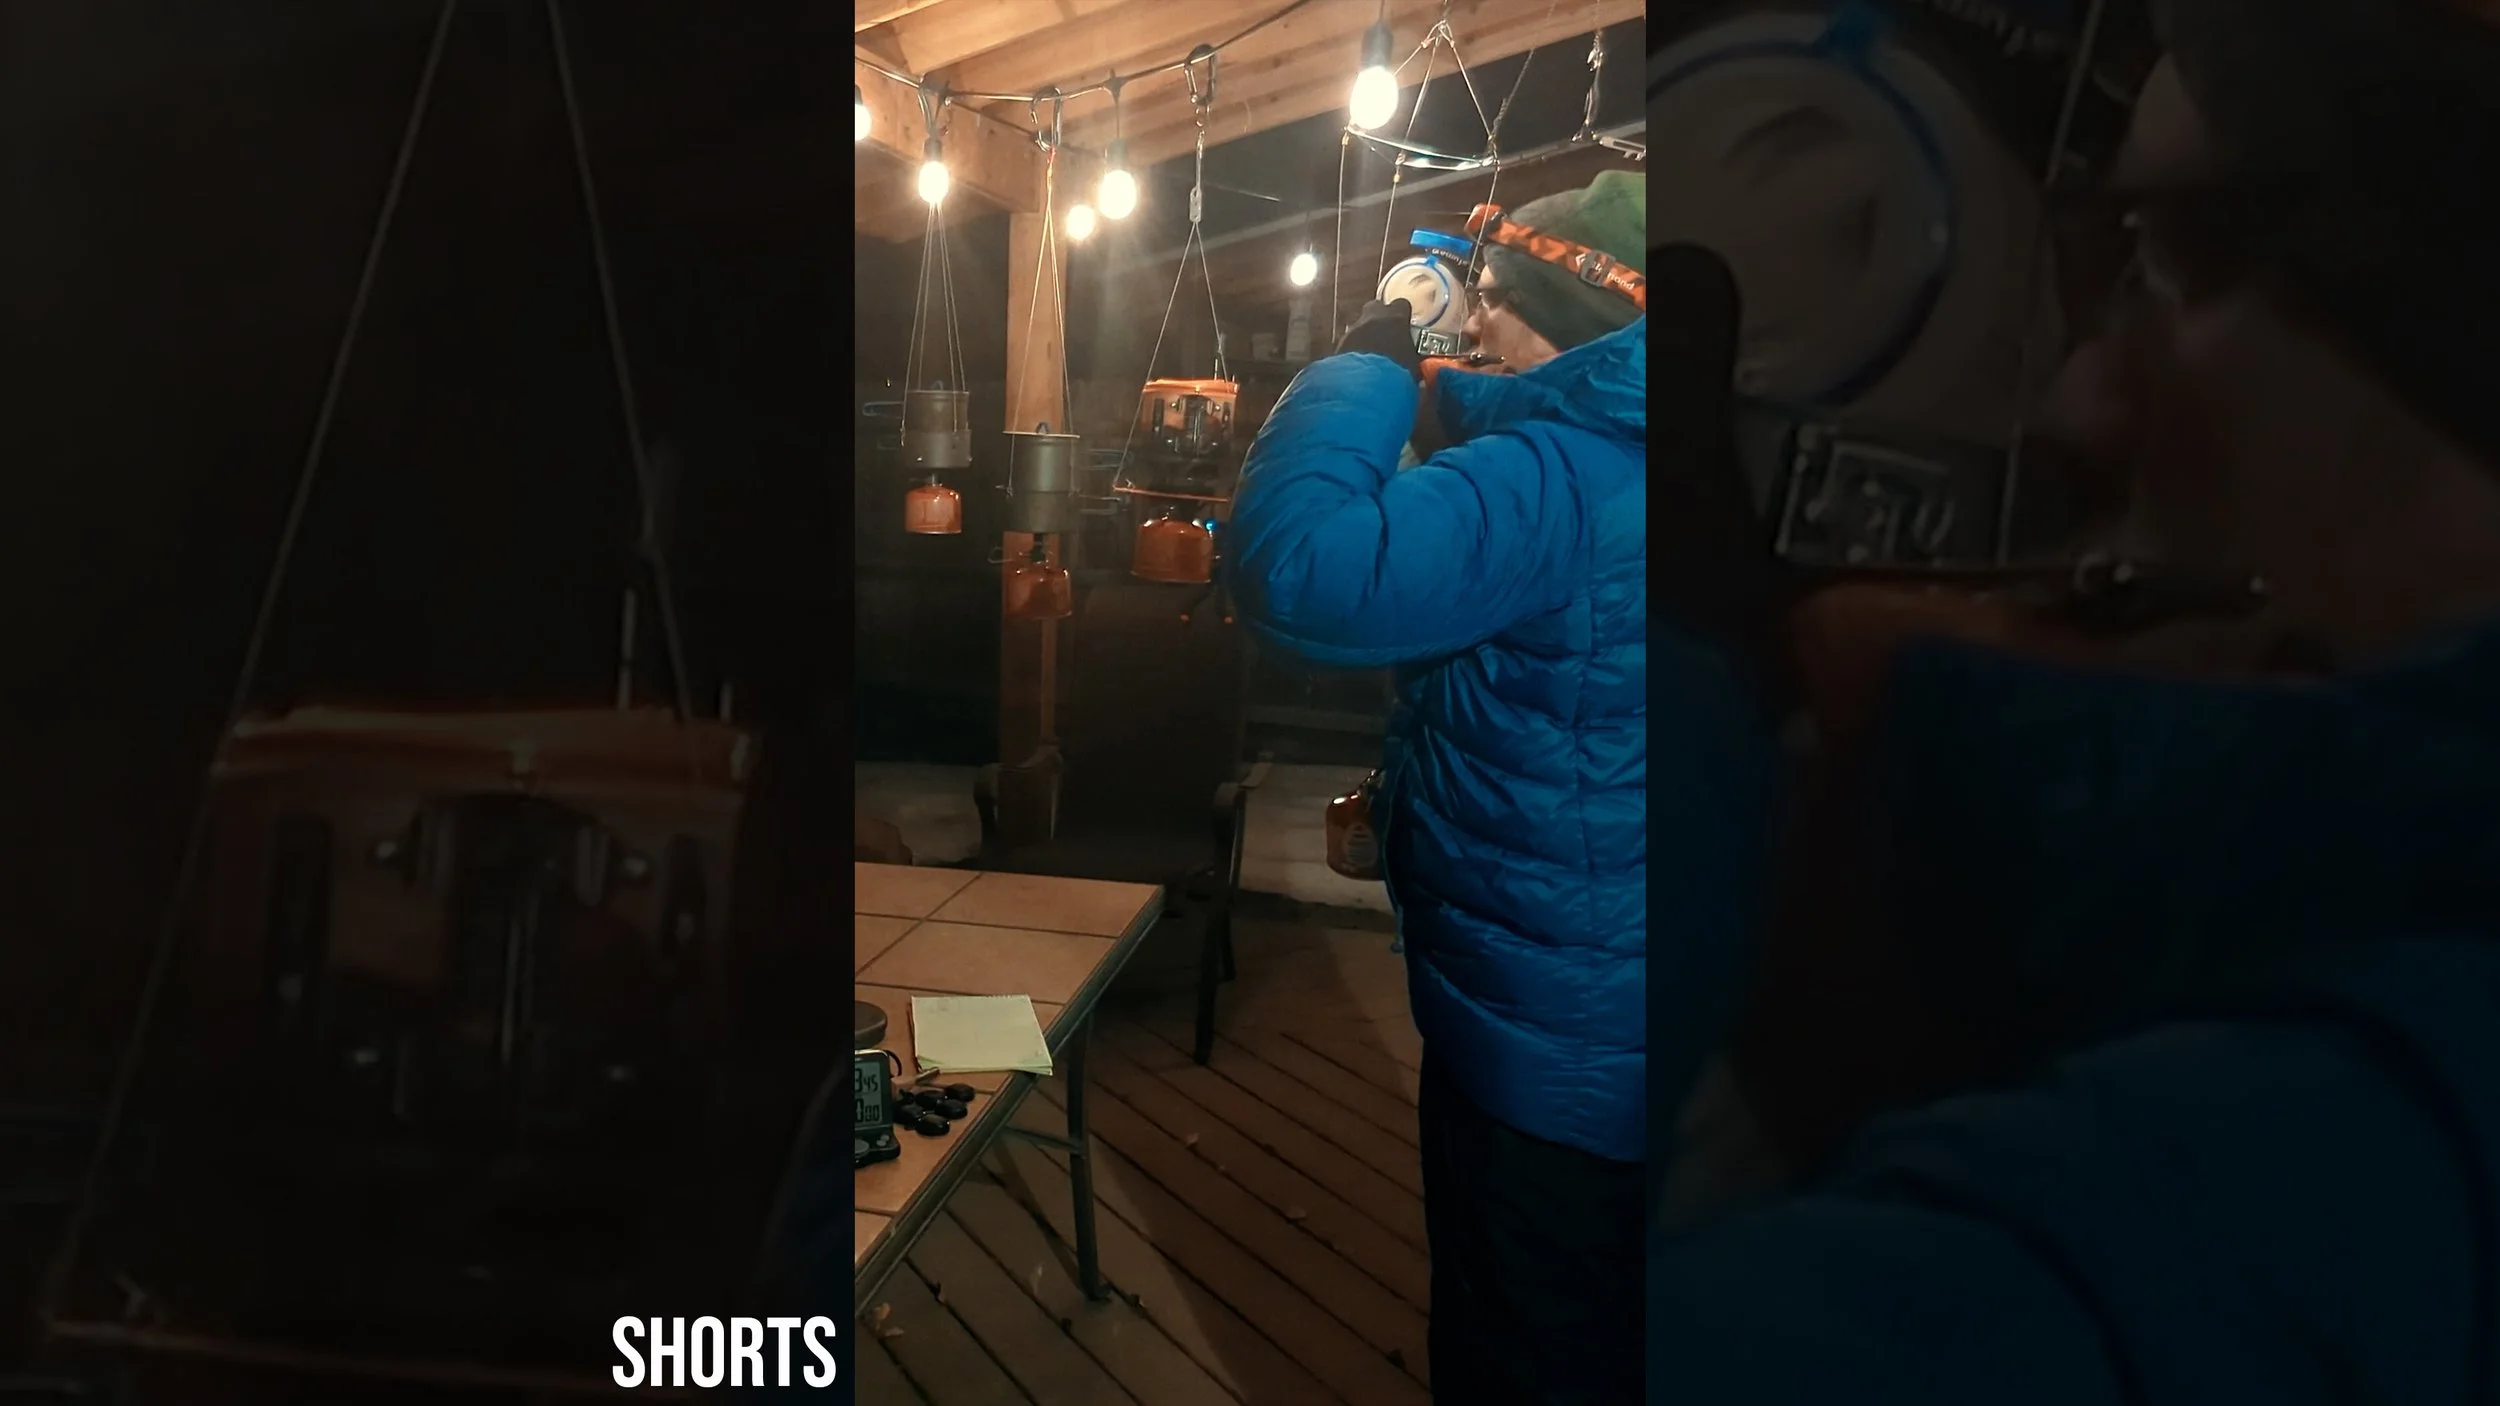
When we get into challenging climbing in mountain environments space, weather, and other constraints might necessitate that we get our calories in while in the relatively secure confines of our camping tent. How can we do that given all the risks that come from cooking with a camp stove when enclosed? Well, there's a learning curve we should take seriously.
The scientific literature is starting to point to endurance benefits for getting carbohydrates in our mouths - not even ingesting carbs - when seeking endurance sport performance benefits. Here's a snapshot of what we know and how we can take advantage on our climbs.
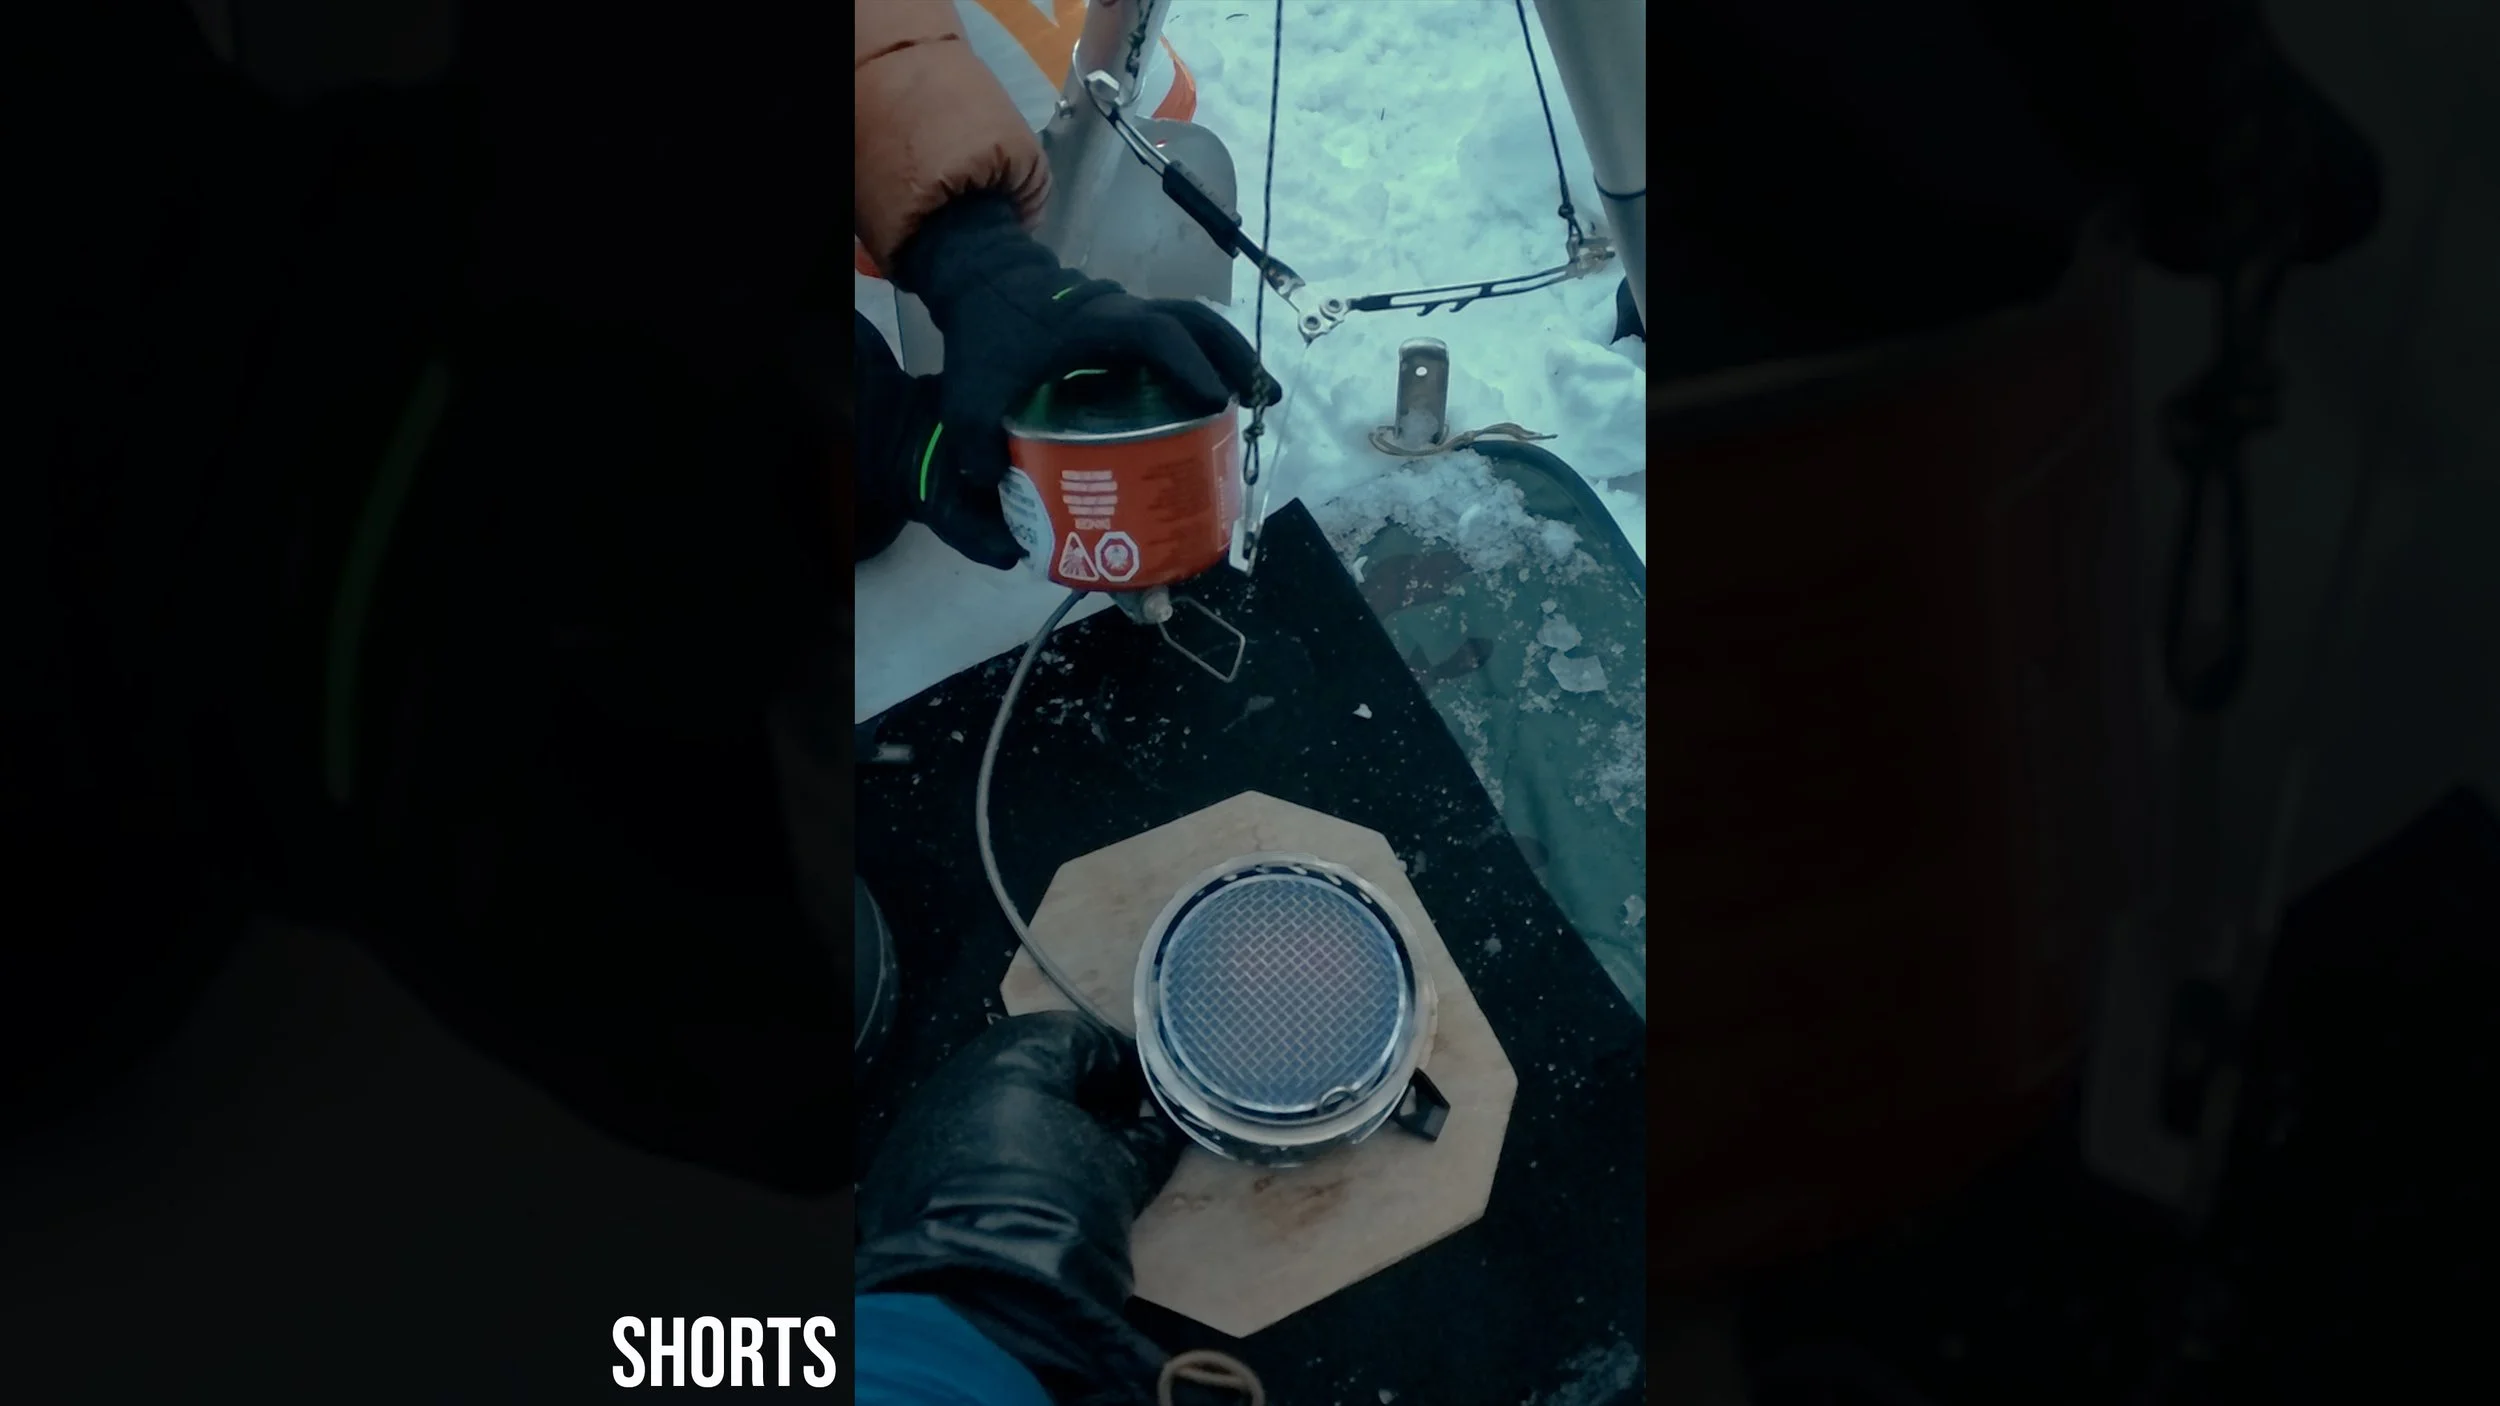
Most commercial hanging kits for camping, backpacking, and climbing stoves are minimalist and light. They can be because they typically fit integrated stoves - where the stove and pot couple securely. This improves safety by containing the flame and creating stability. The full video provides a build for a hanging kit for a non-integrated stove that will bring us a similar safety profile.
Canister stoves that allow us to invert the canister, move the fuel as a liquid to the stoves’ vaporizing tubes. That improves cold weather performance. But those stoves can flare if we don't watch out for flooding the stove with fuel. Here's a simple procedure to avoid that problem.
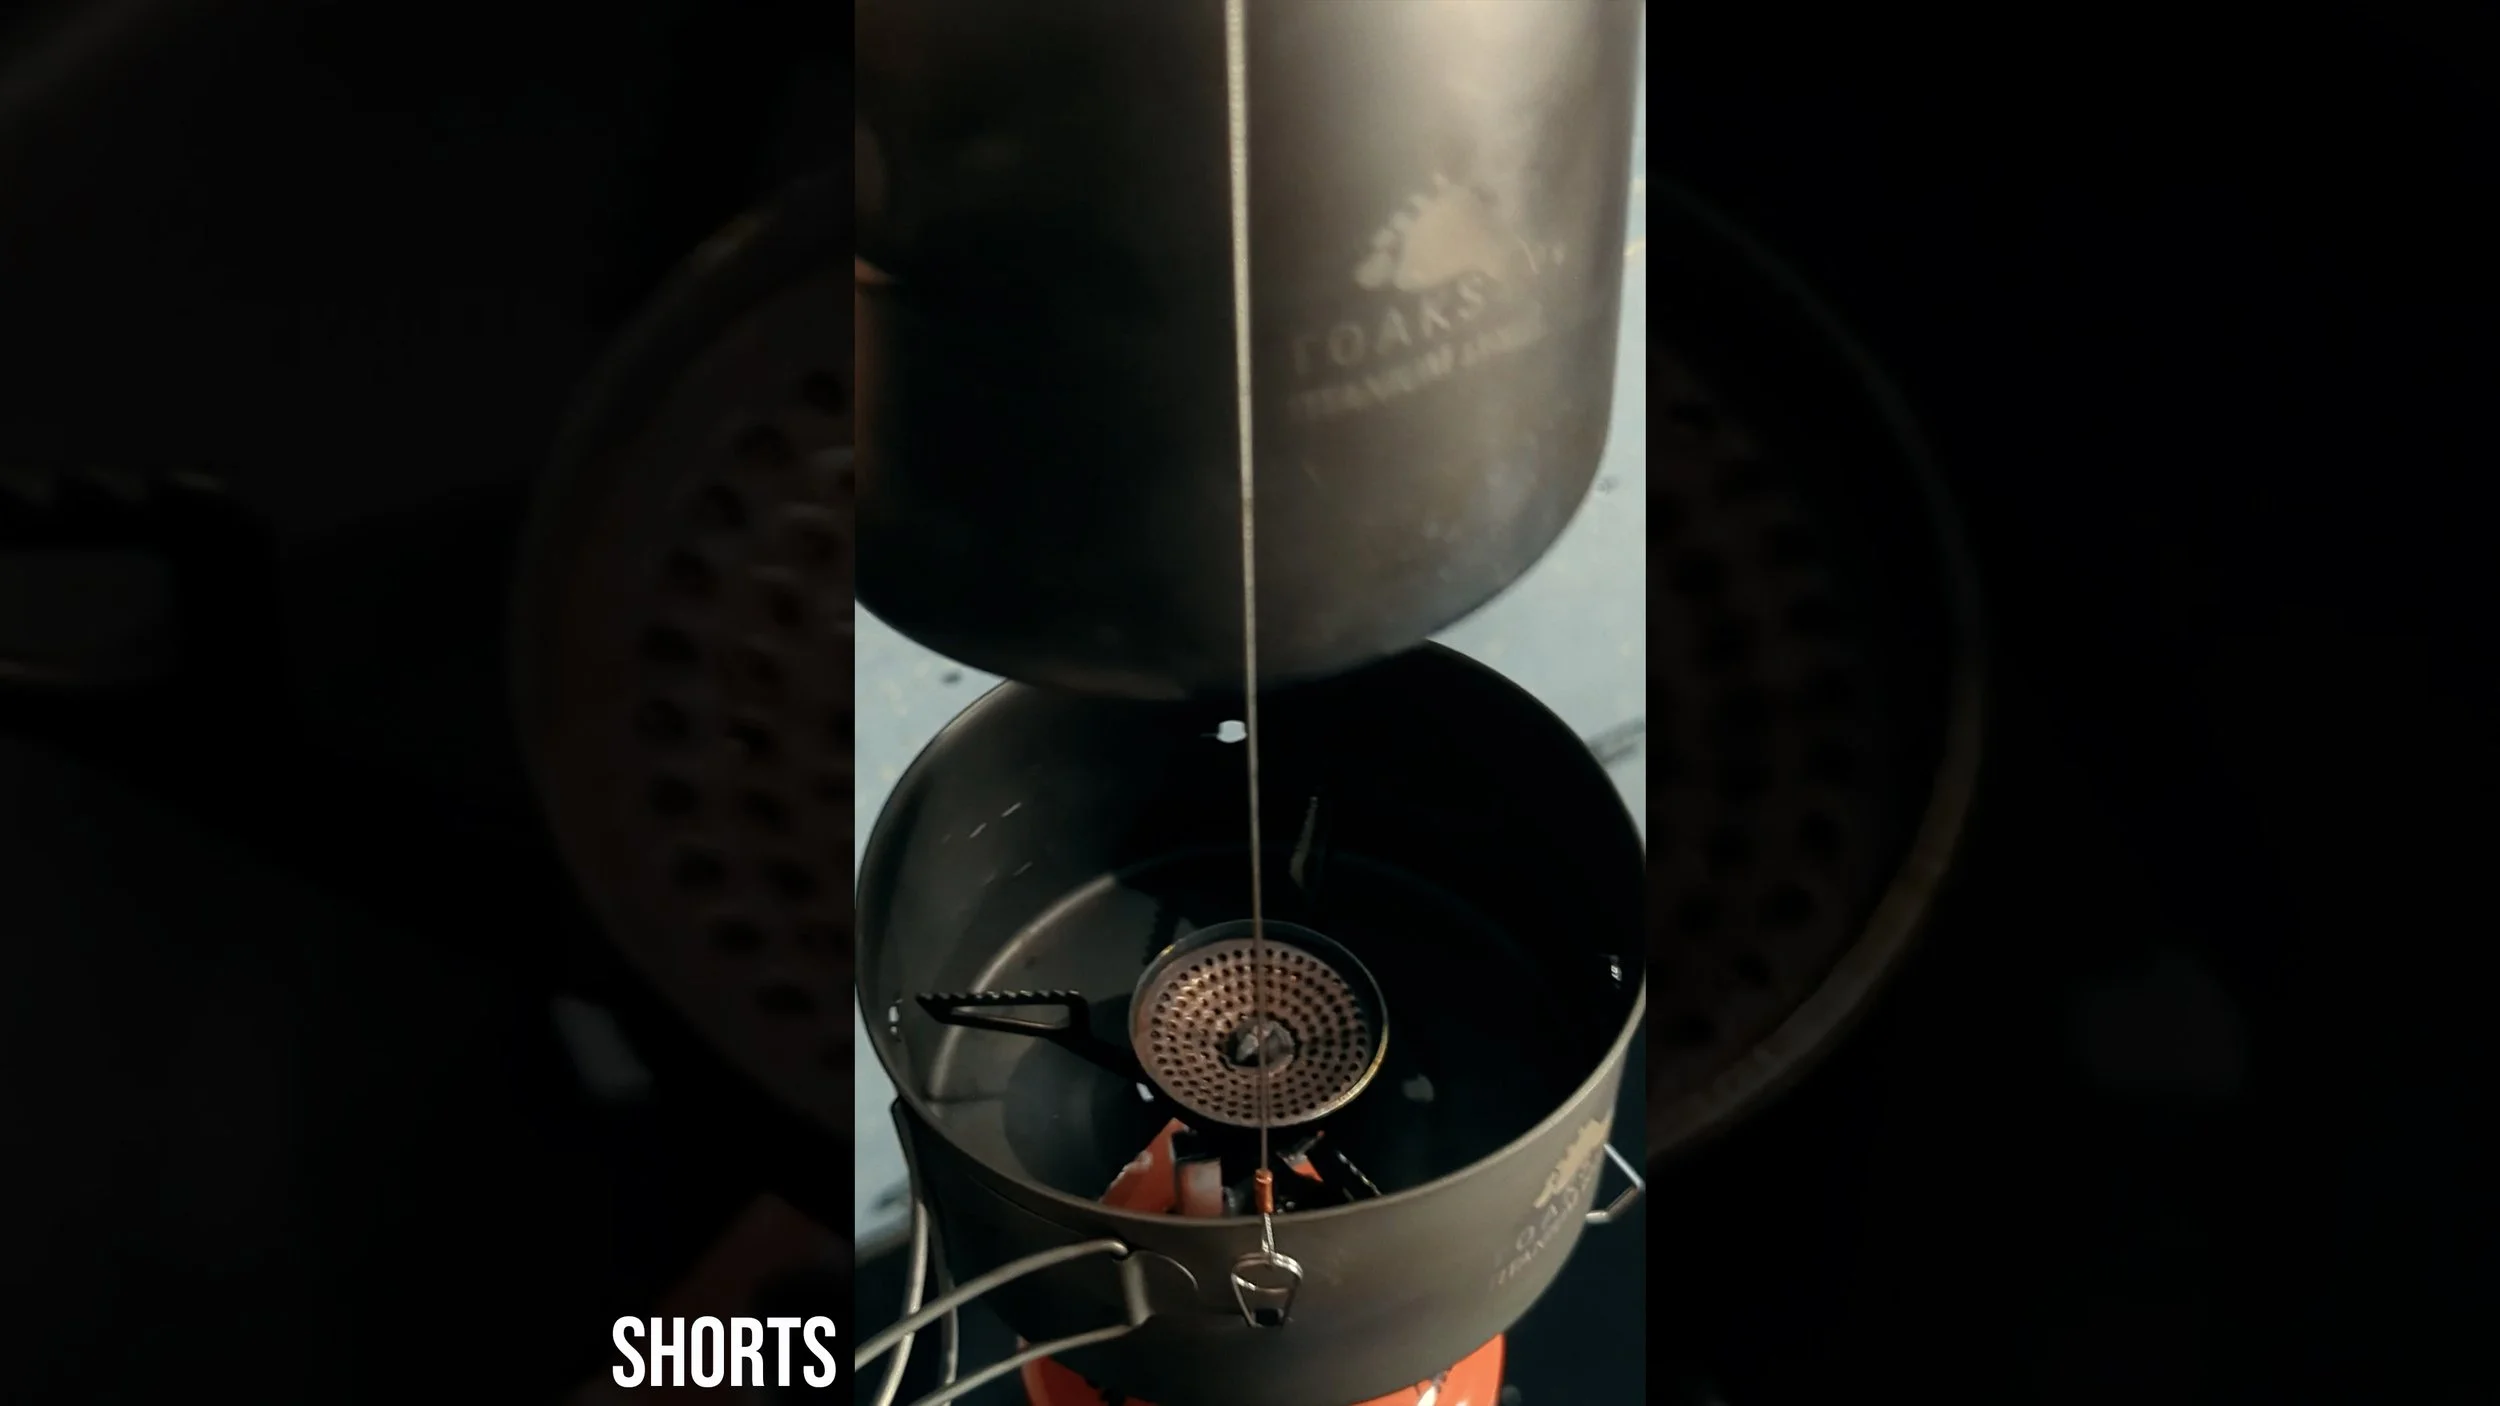
Integrated stoves for camping, backpacking, and climbing transfer heat very effectively, reducing fuel demands. But the integrated stove and pot are often heavy. There are people who prefer lighter backpacking stoves, but to make alpine-ready hanging kits, they often need a heavier and more robust design to transfer heat and keep open flames away from gear. So, I ran a test on some store-bought integrated stoves with hanging kits, and some DIY hanging kits with backpacking stoves. The full video goes deep into the results.
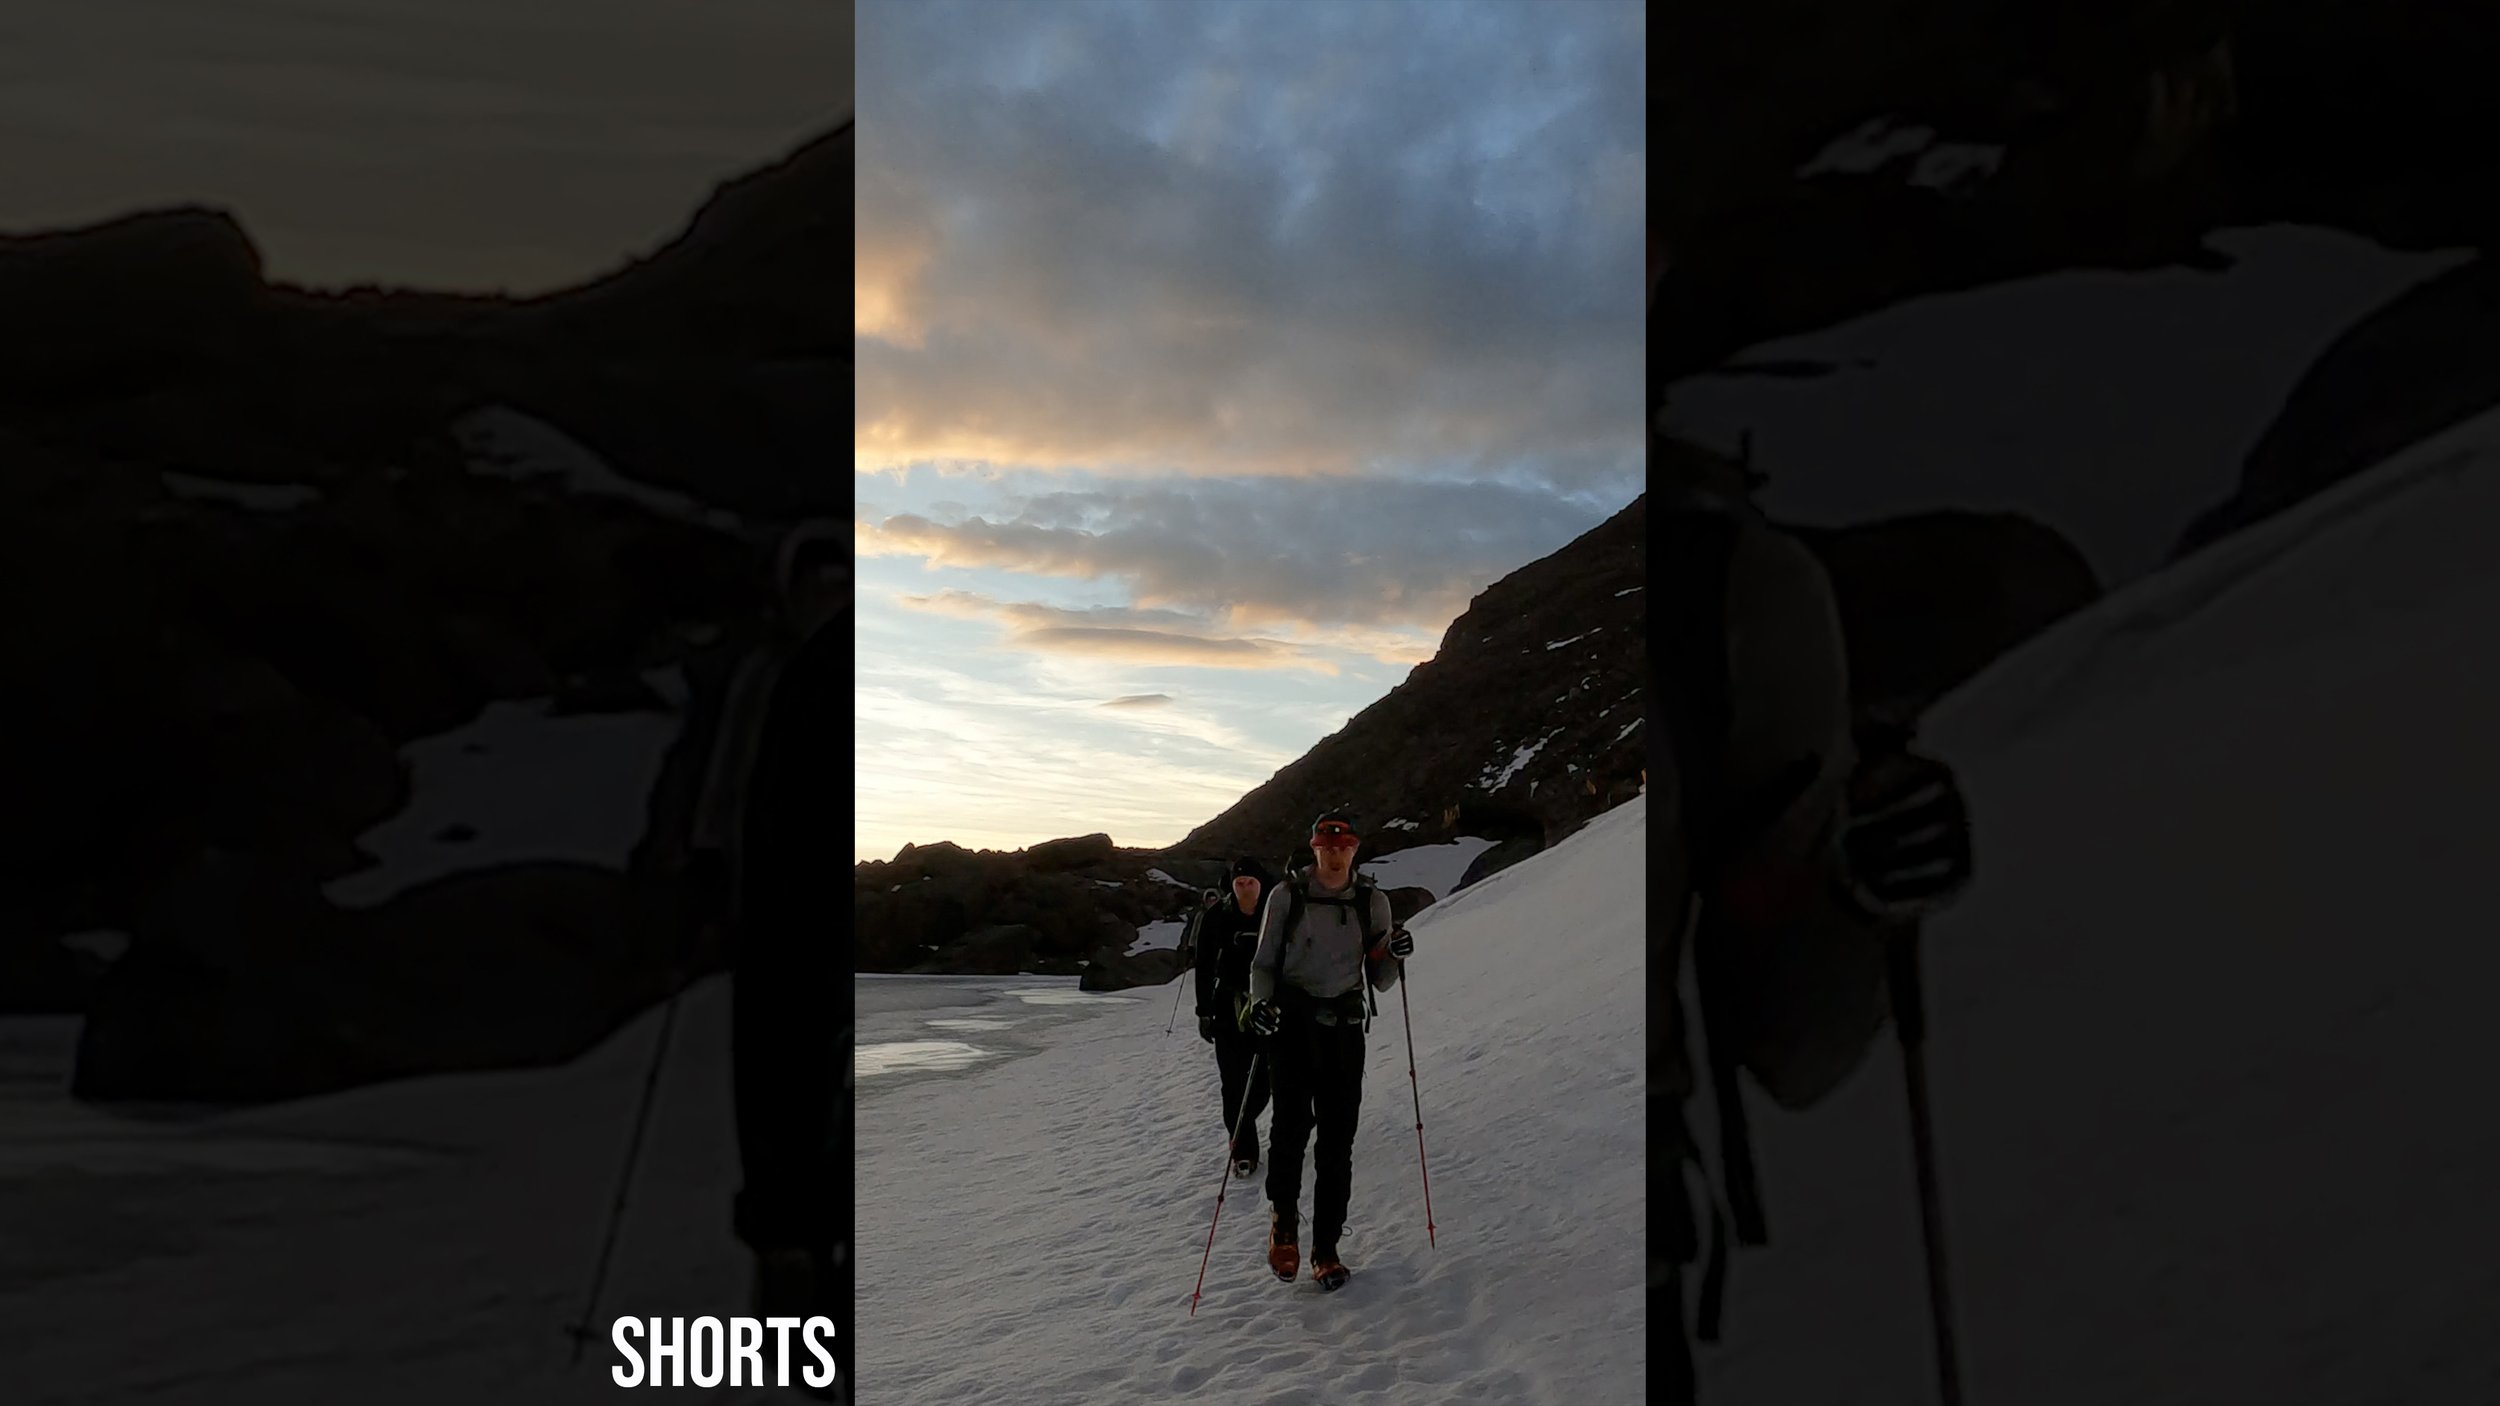
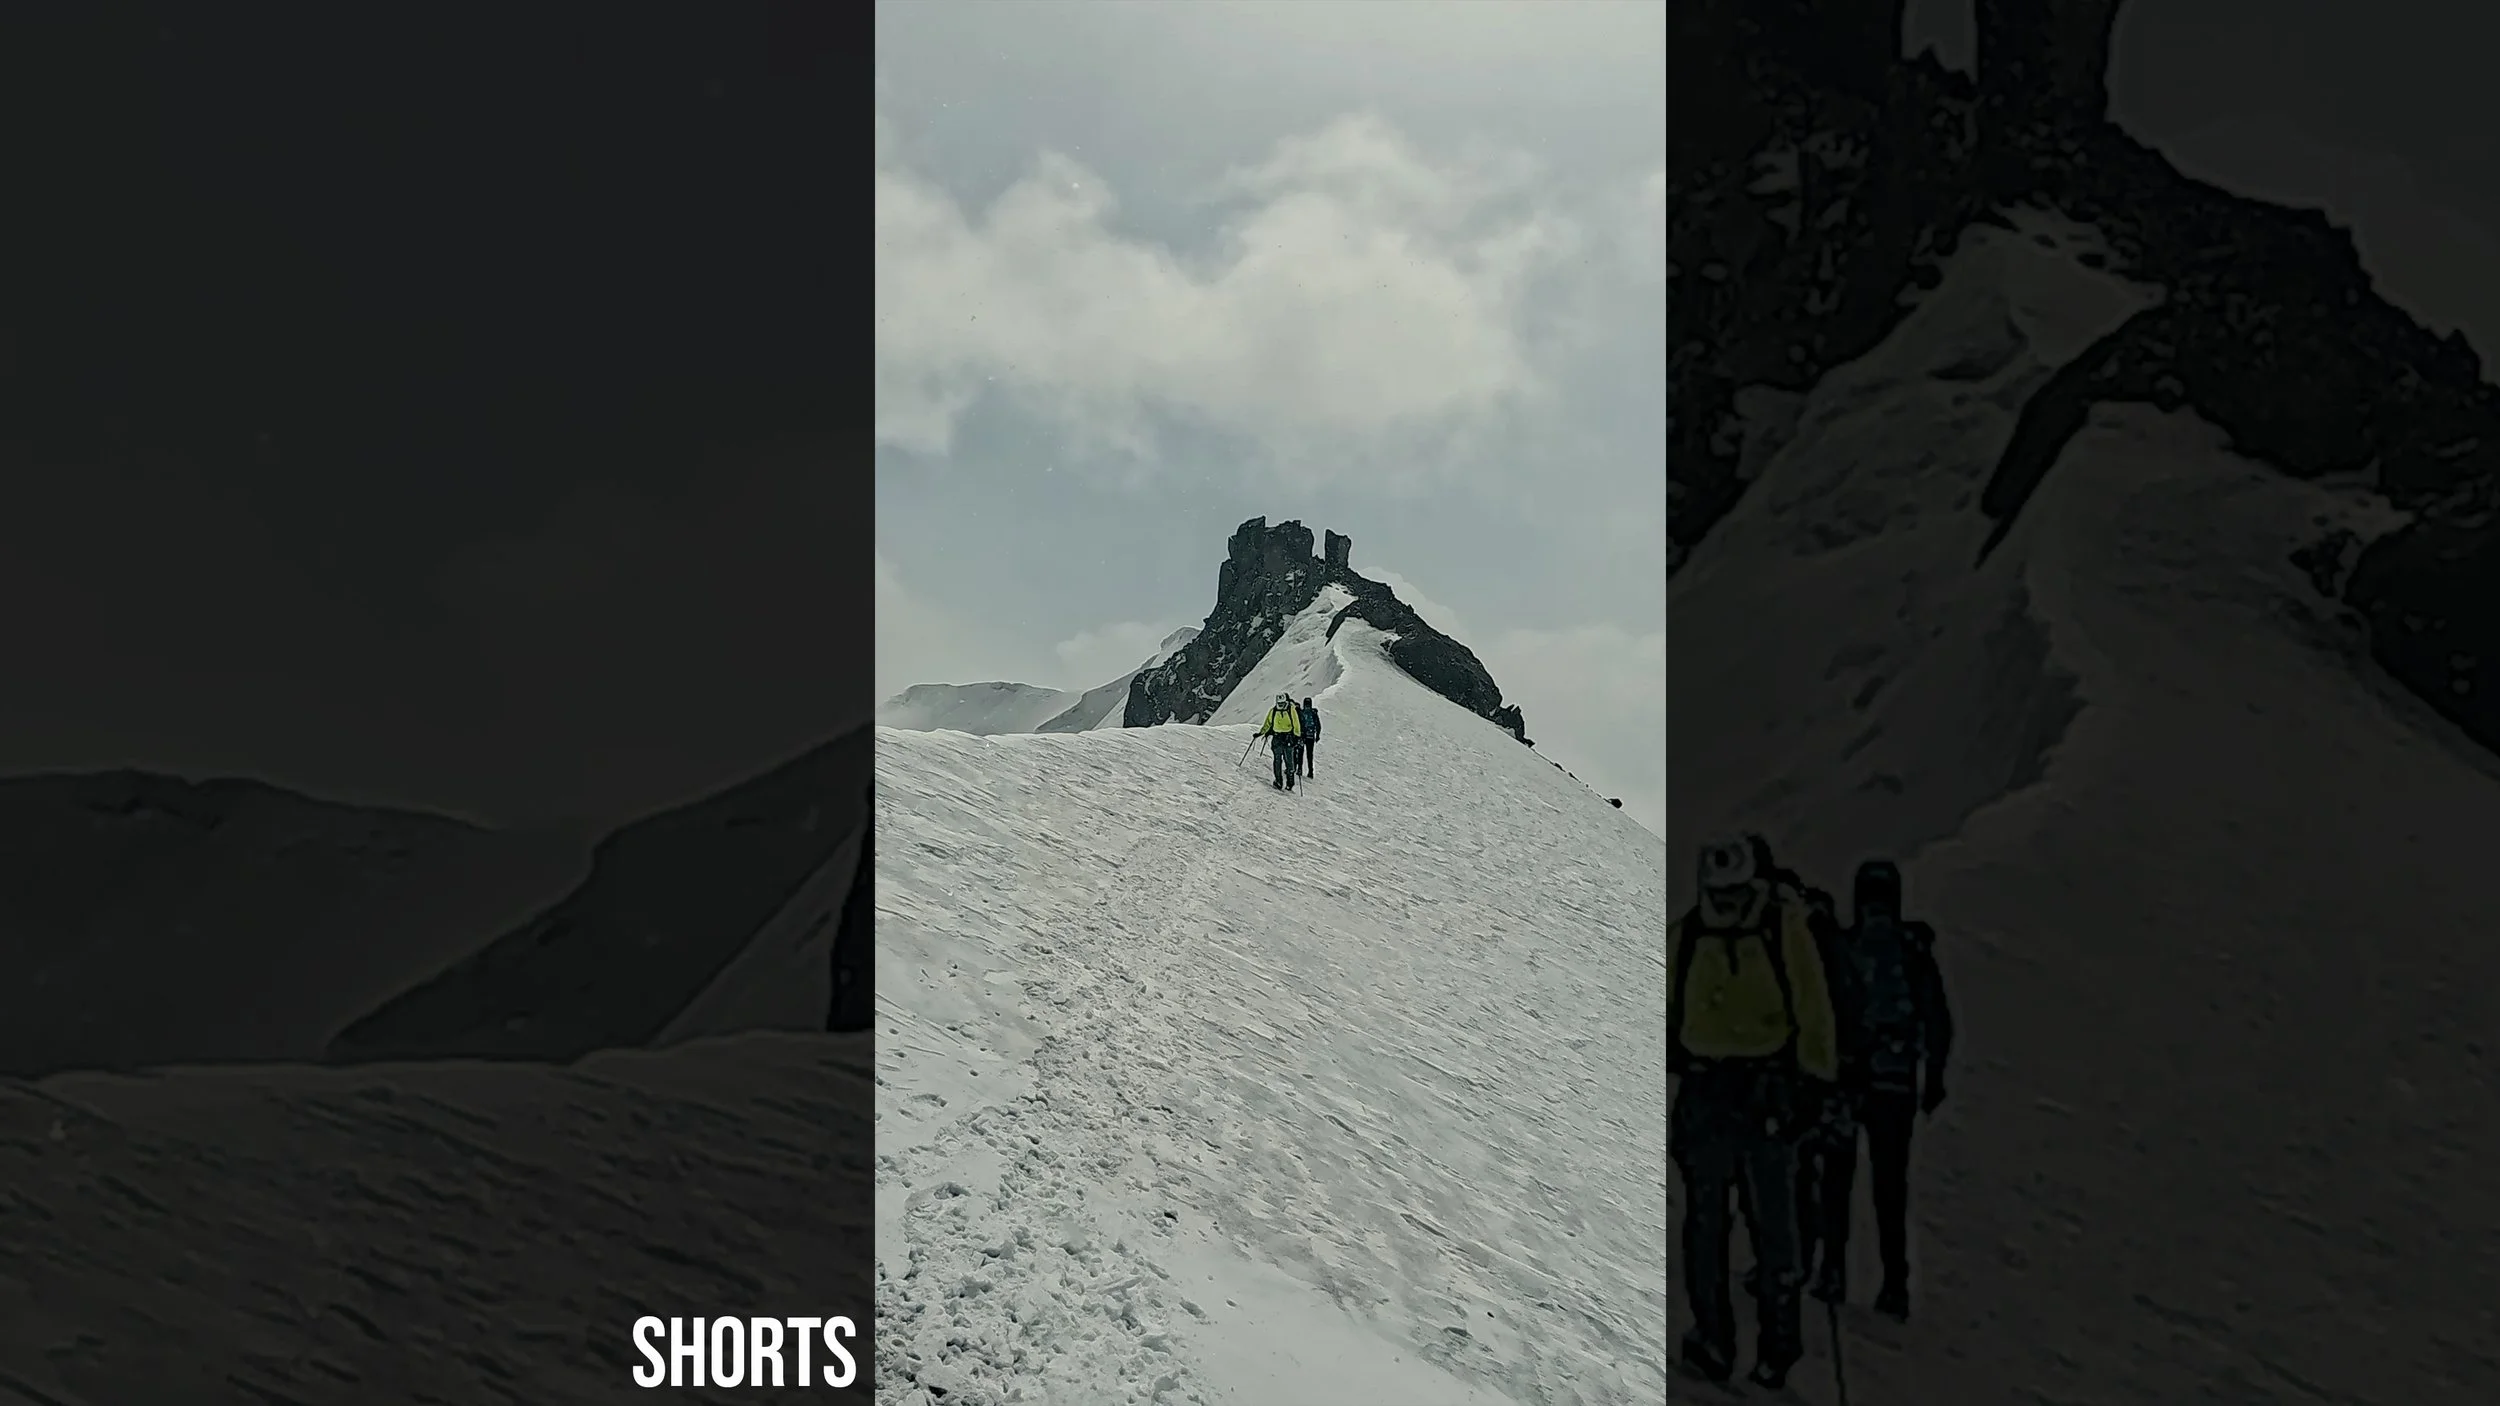
Winter and spring climbing often takes us to ridges where we can mitigate against avalanche danger by walking above the terrain hazard. But while on that ridge, we may be facing another danger: cornice falls. Here's some of the things to consider as we navigate loaded snow sitting on top of the ridge instead of below it.
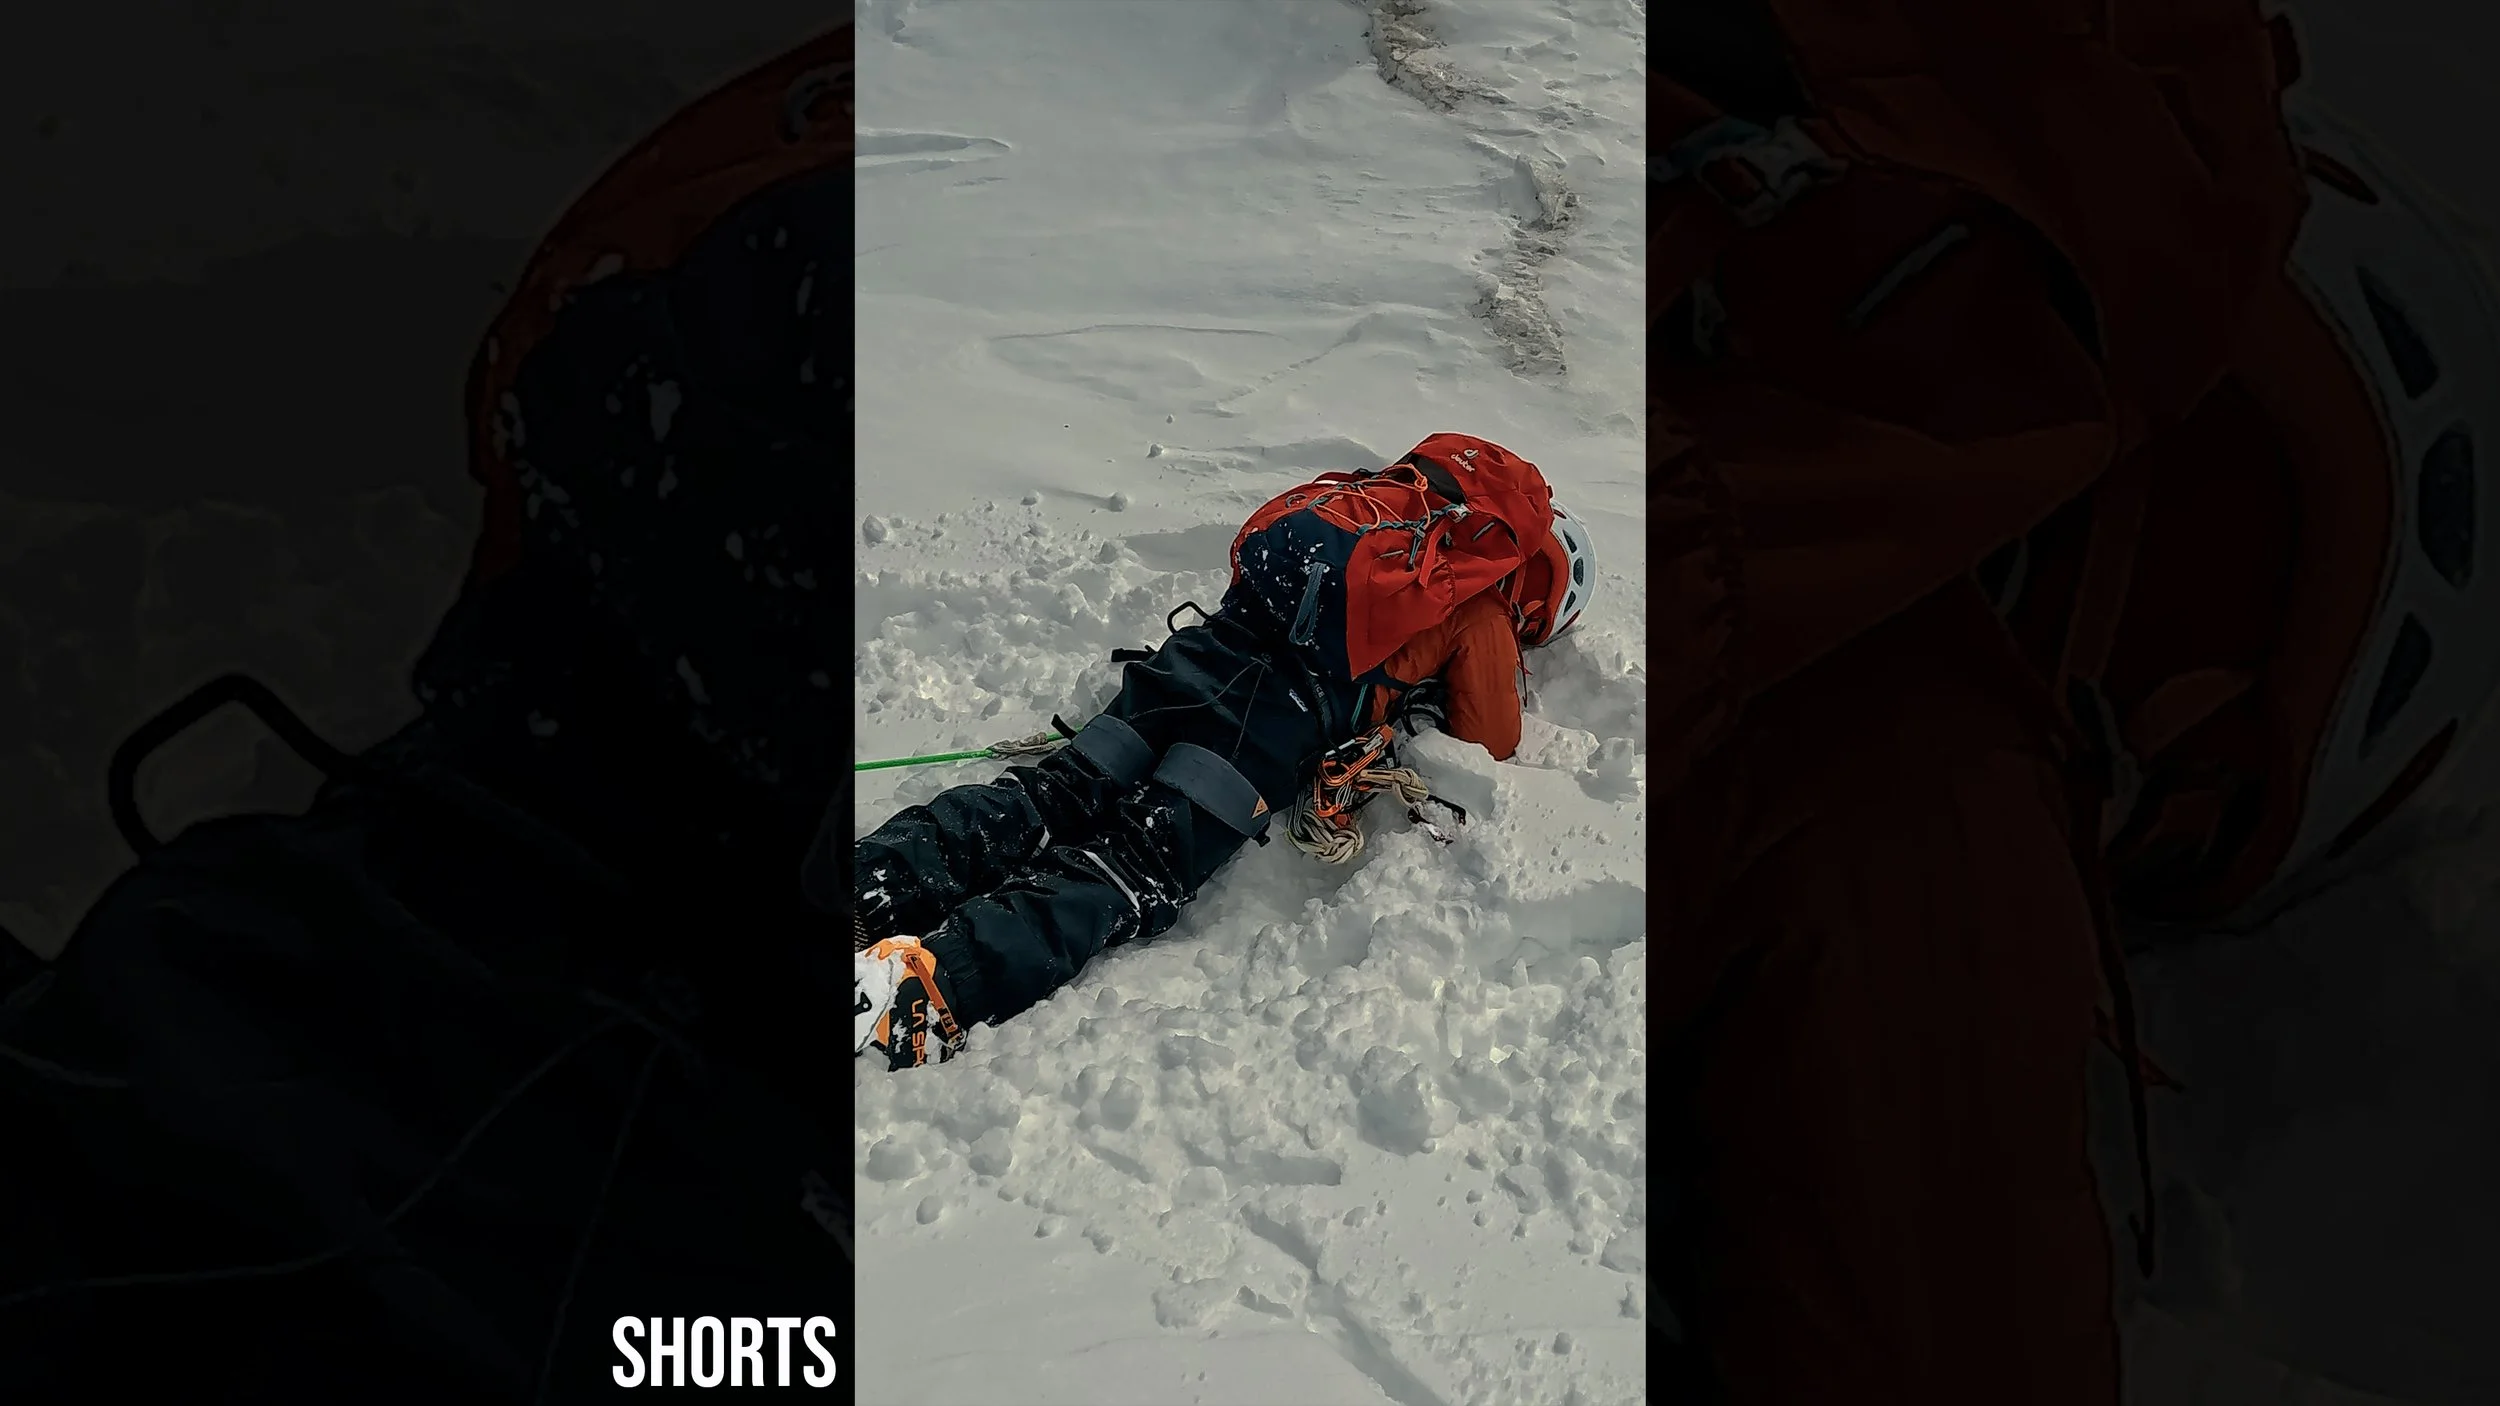
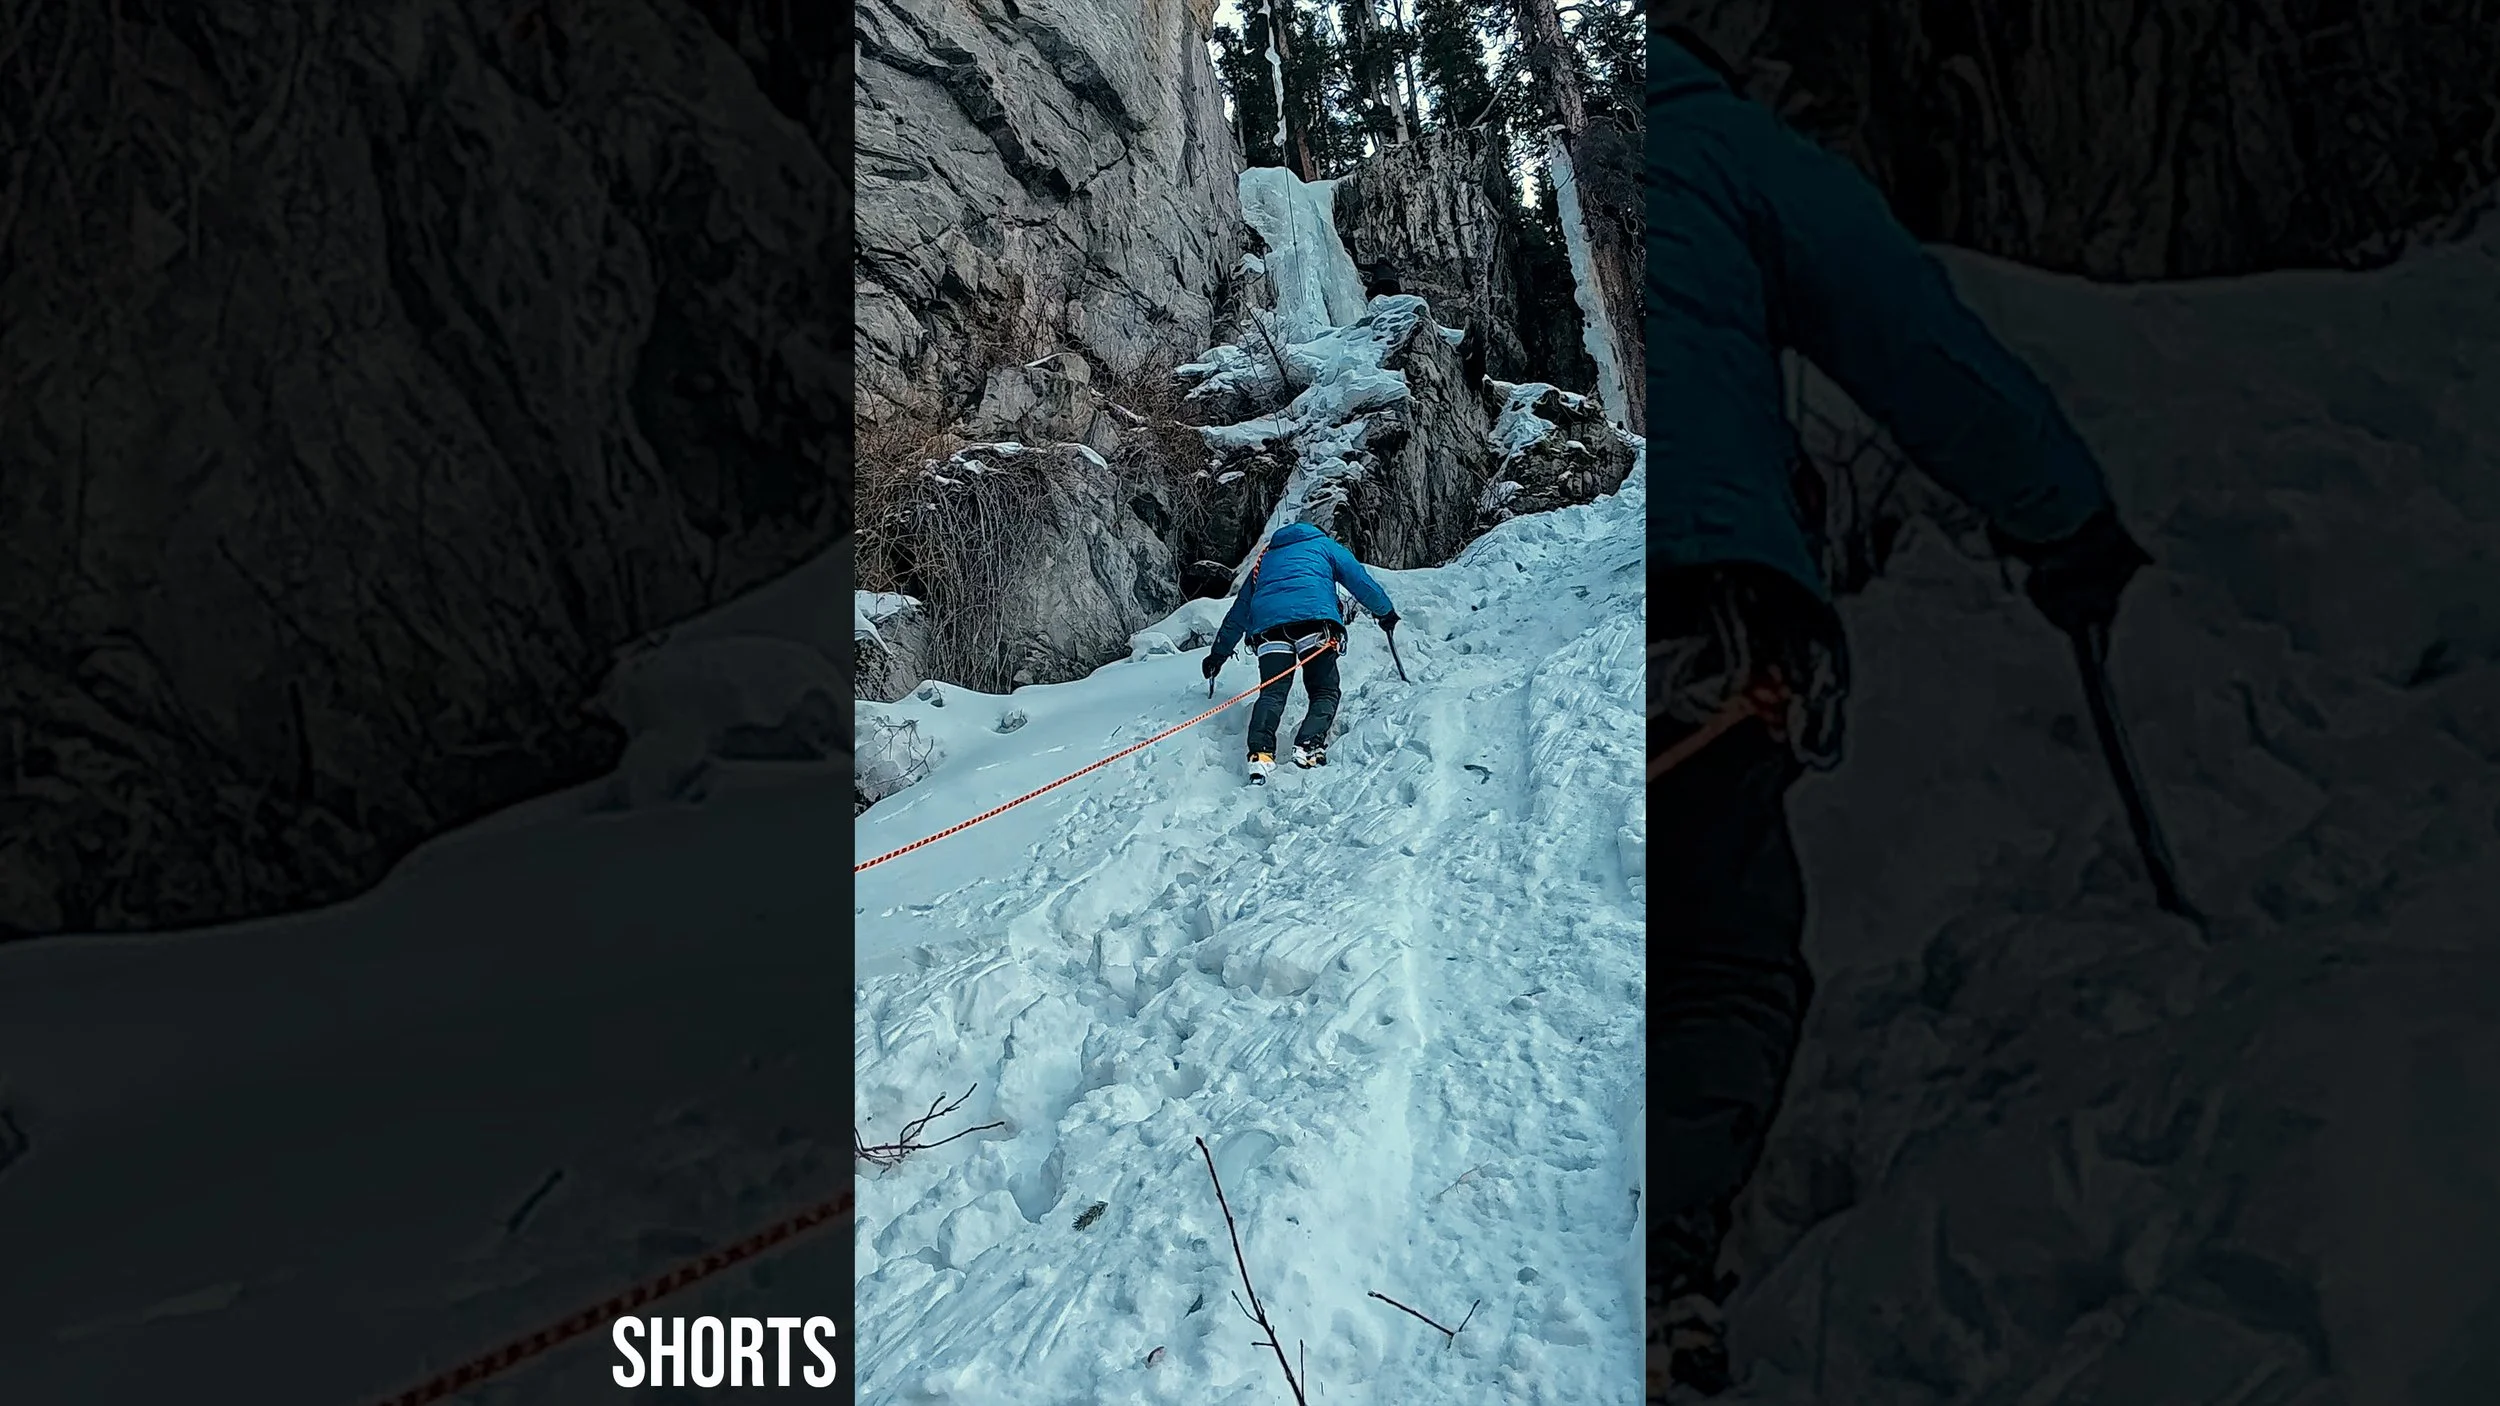
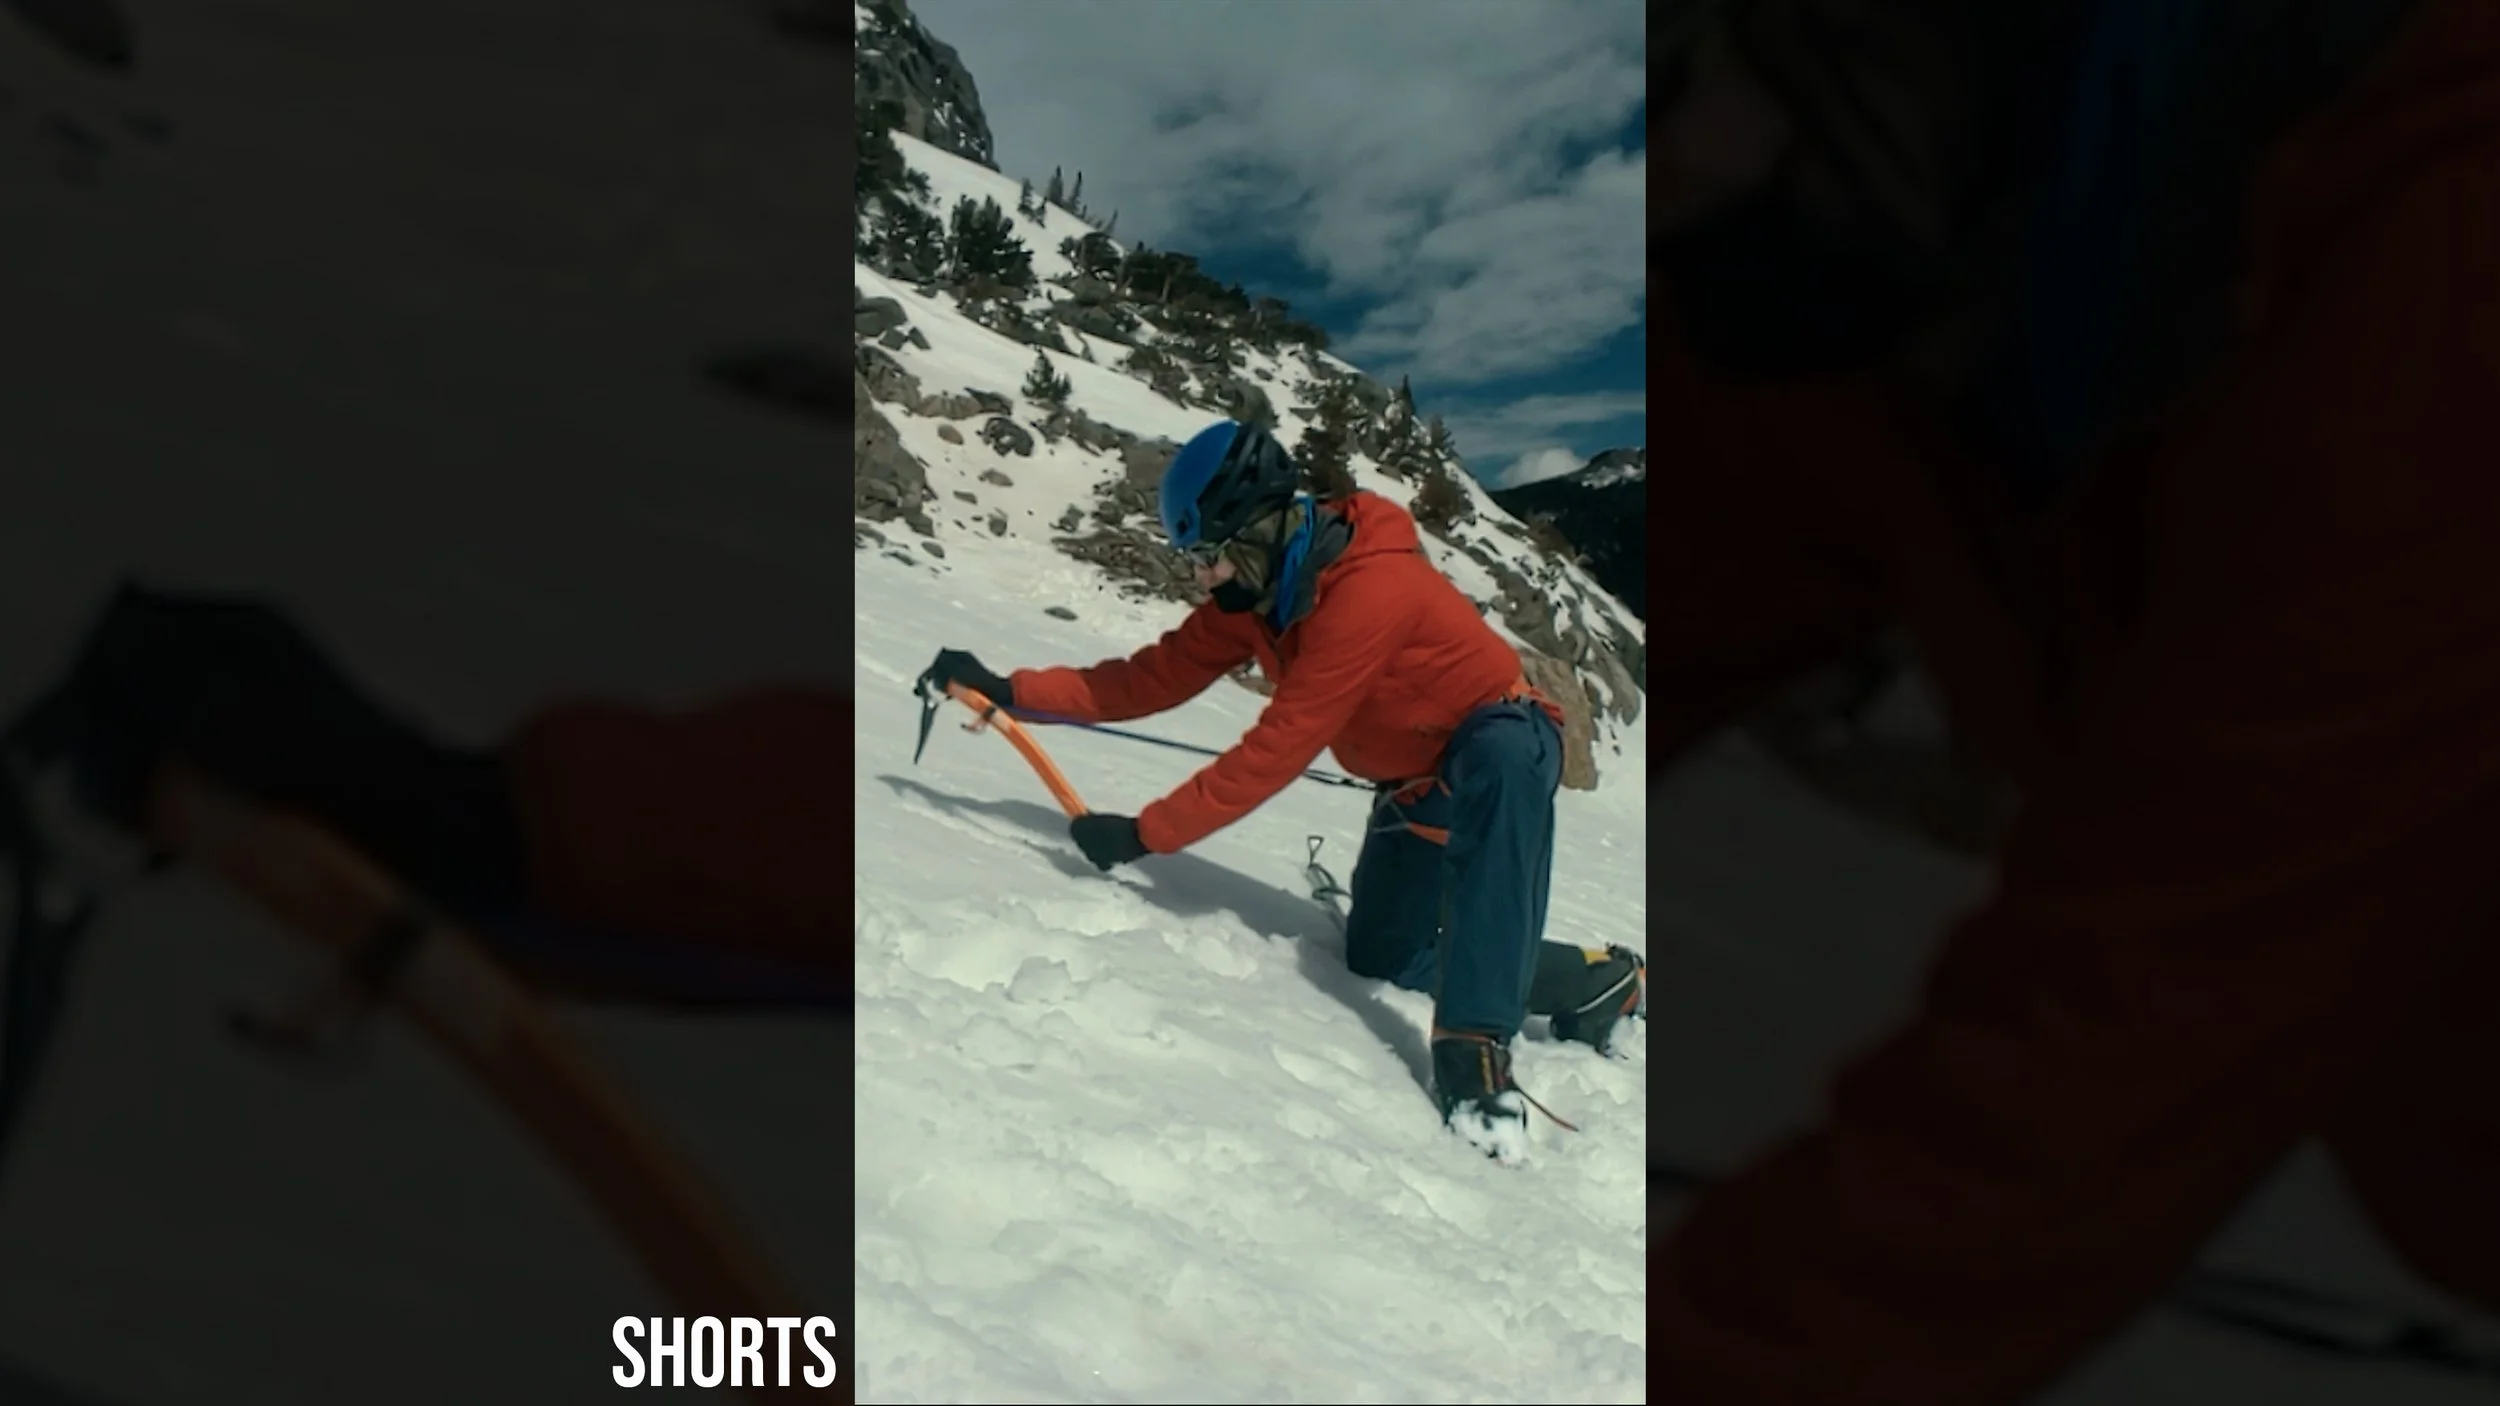
Self arrest is a very necessary climbing skill if we are on moderate angled snow slopes like snow-filled gullies, or couloirs, or ridge walks above sloping mountain faces. That technique, at its best, demands proper use of an ice axe, but if we don't have or have dropped our axe, we shouldn't just give up. As a last-ditch effort to avoid having a slip become a fall, the full video gets into details on how and when to apply three techniques that don't require an ice axe.
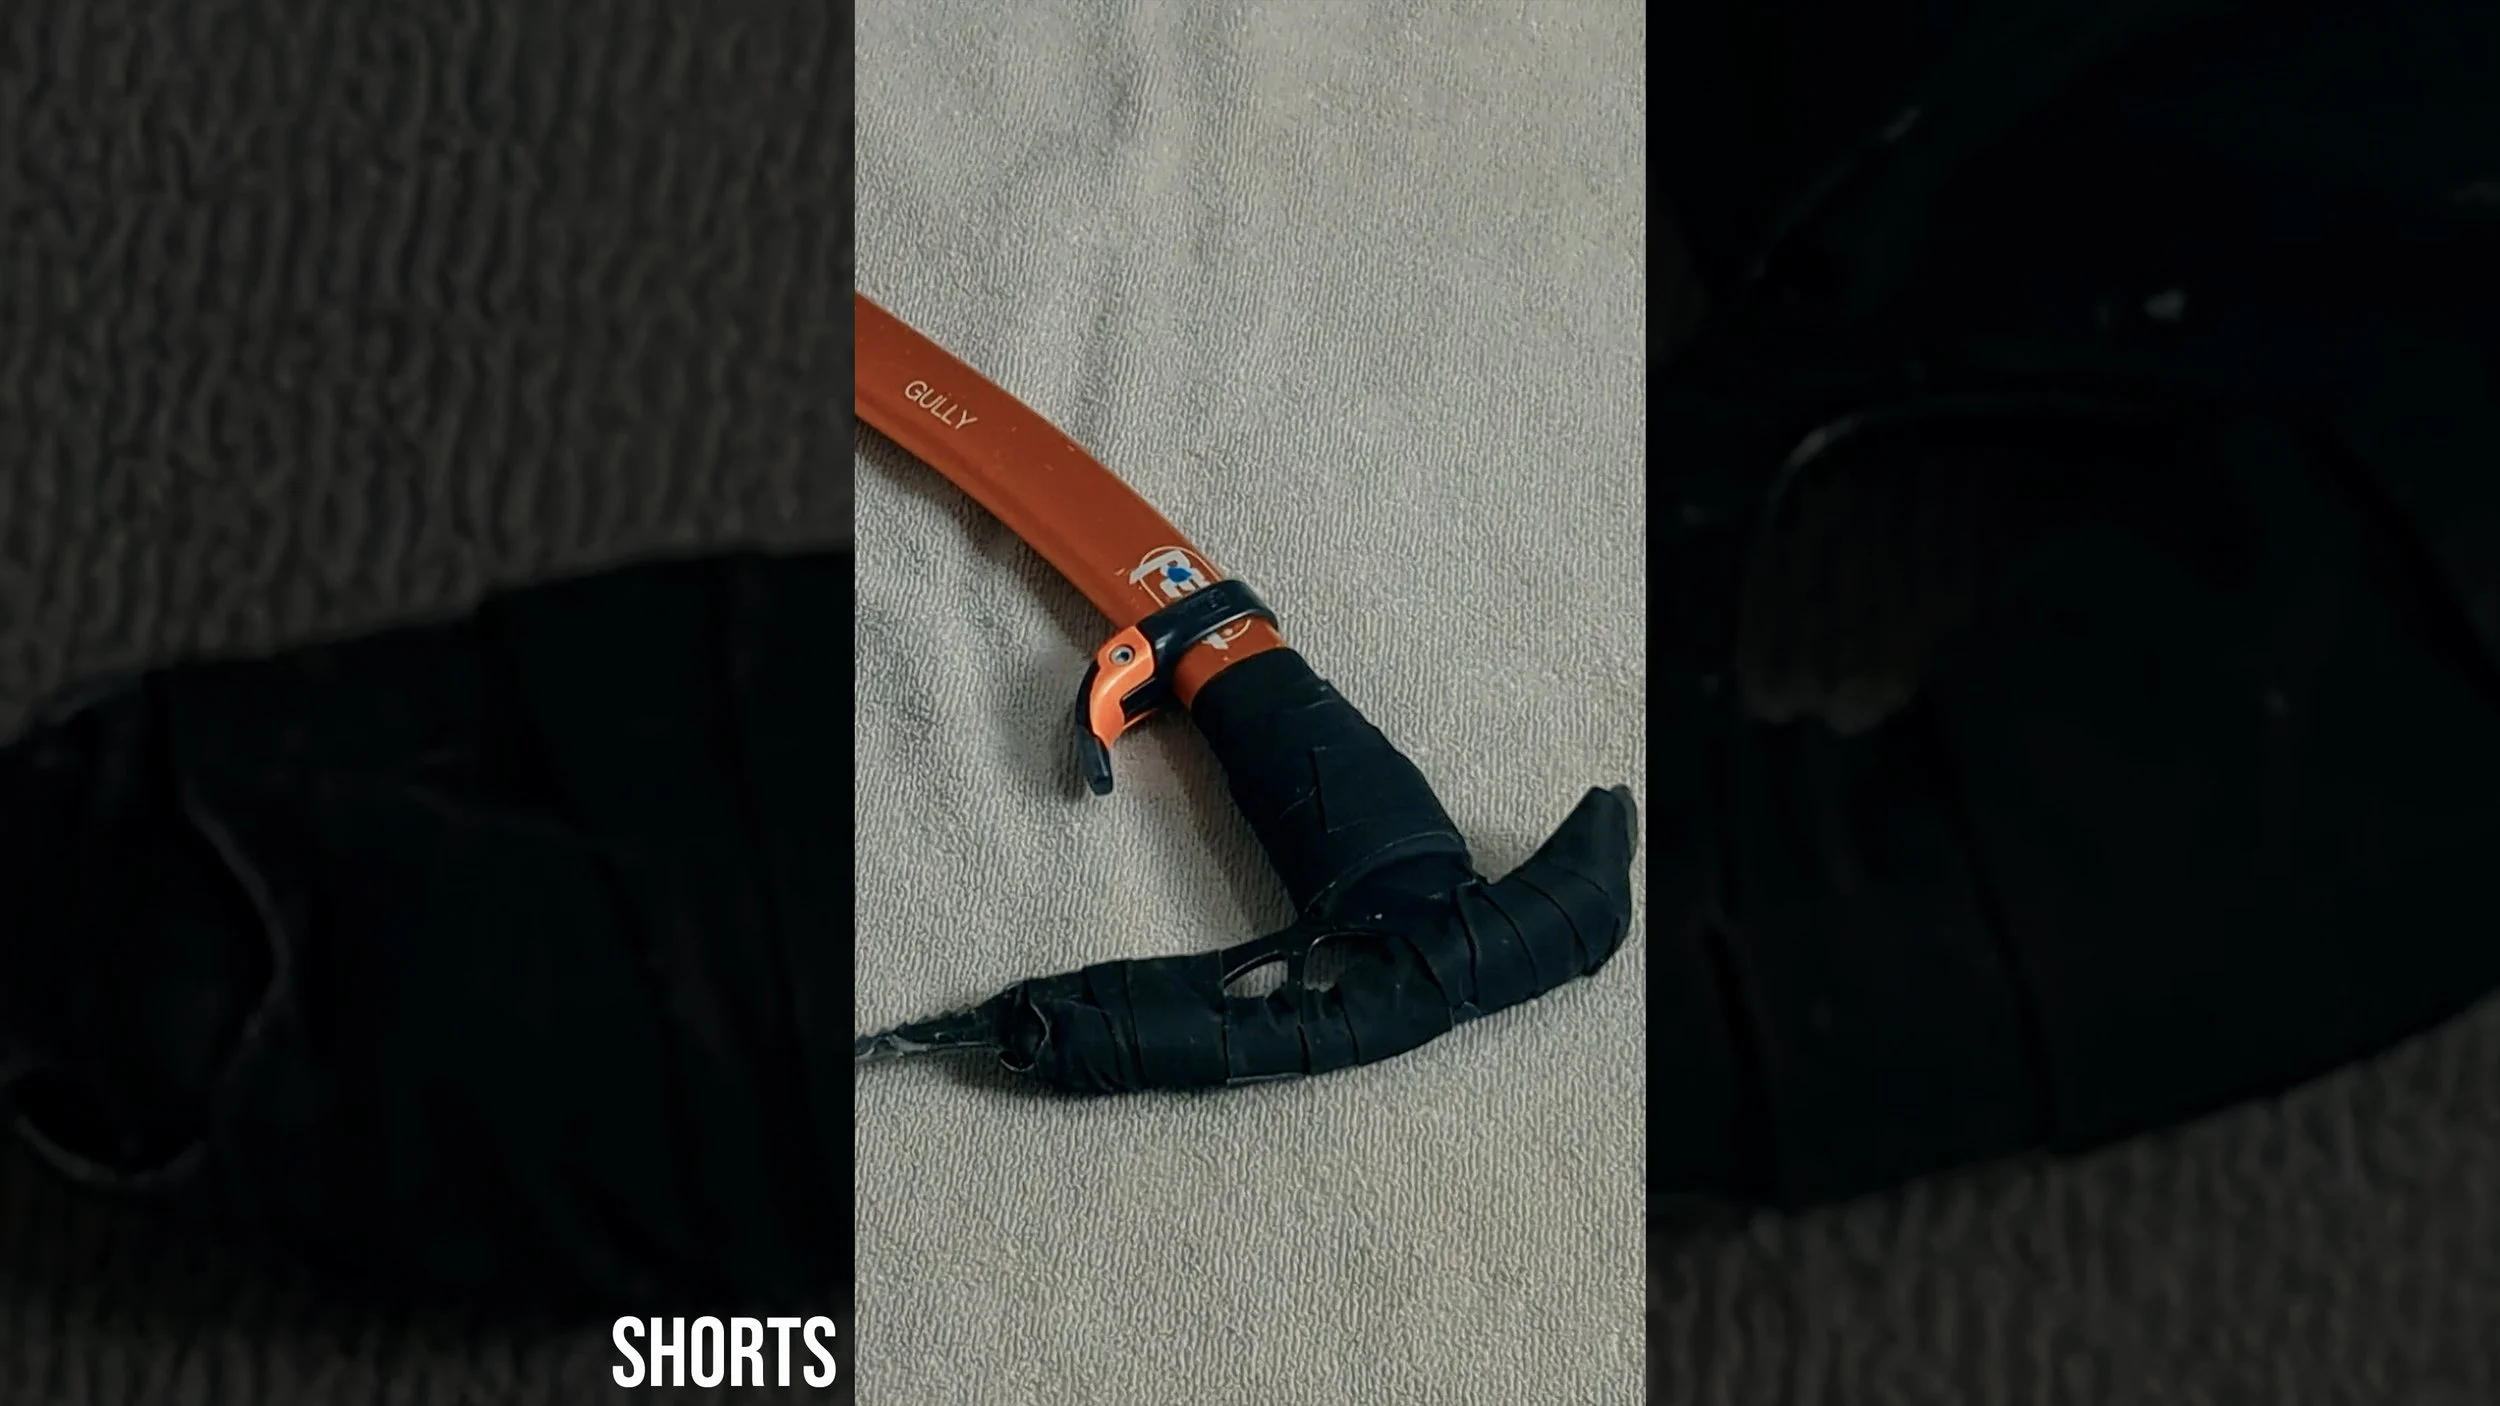
Ice Axes, when made of metal, will conduct the cold from the snow and environment around us. There are options that are less conductive, like carbon fiber, but we may want to keep using a robust metal axe for use with certain techniques. So, what can we do to reduce the cold from that axe that is freezing our hands?
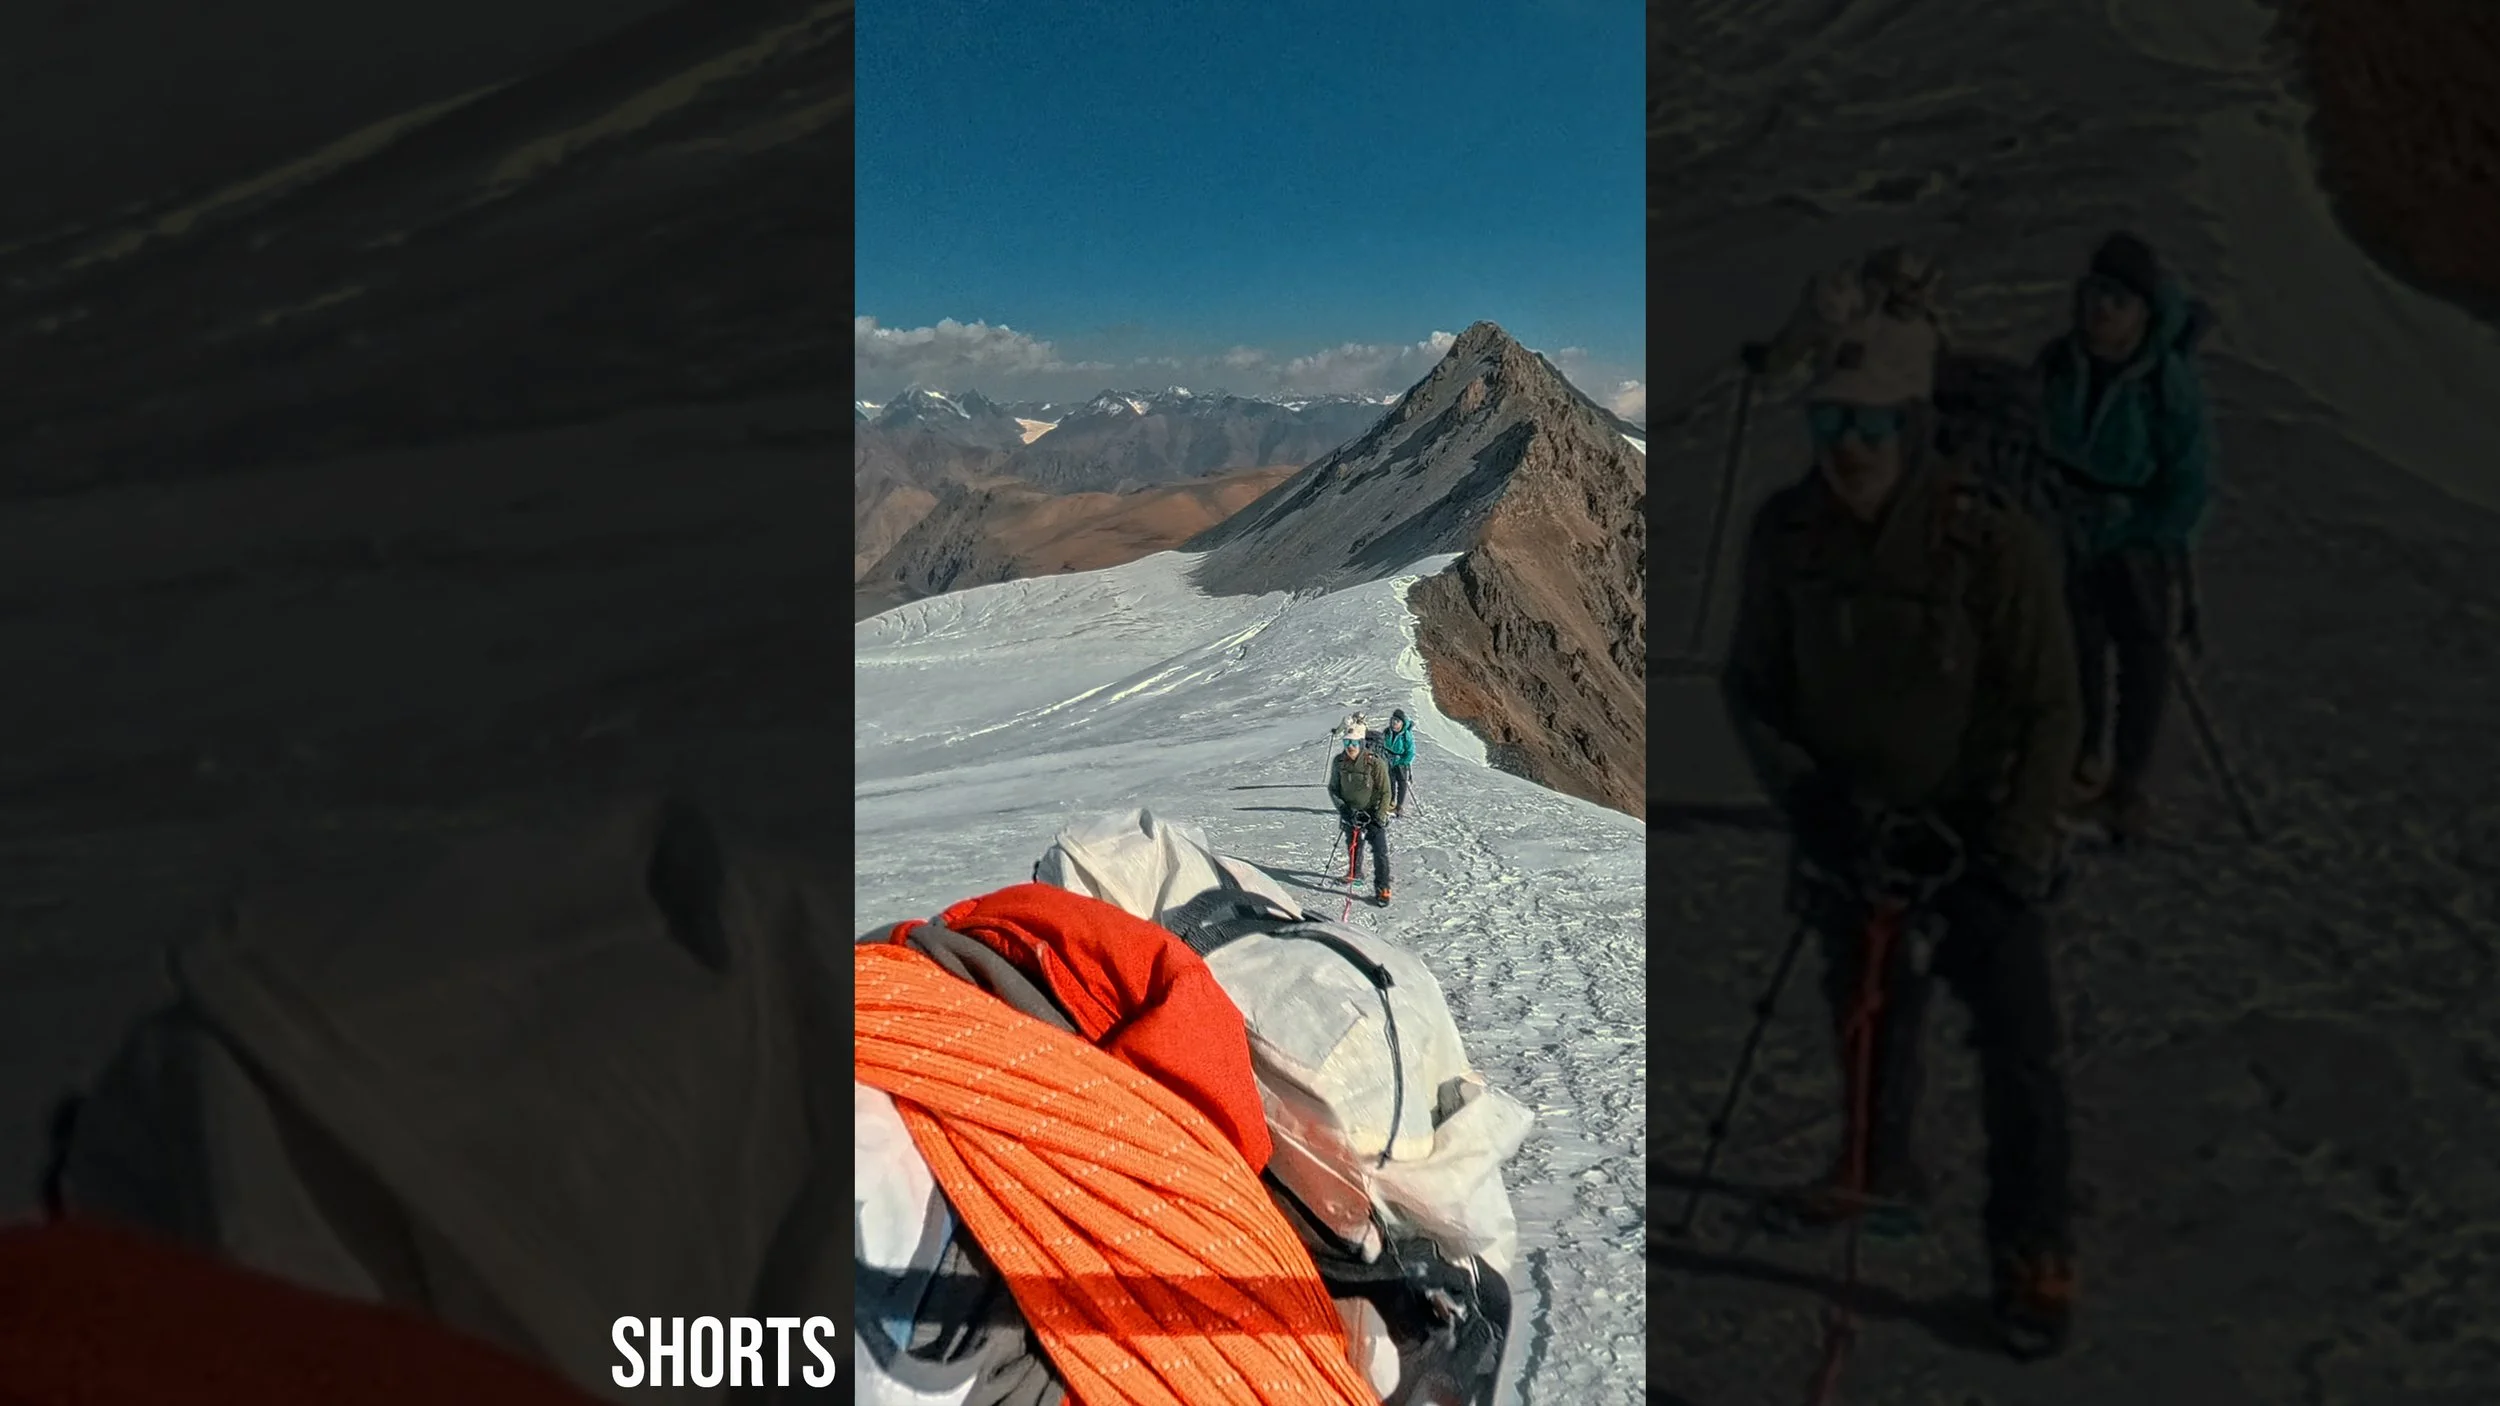
If we decide that end roping may be the right method for taking on moderately technical snow terrain on a climb, we may want to pack one axe more than we have climbers. It offers up some flexibility in deploying our end roping system. The full length video goes deeper into why and how.
If you are new to winter climbing, you might be thinking about what type of ice axe you will need. Well, one major component of axe design is the curve of the pick. Downward curving picks stand in contrast to pick curves that start bending downwards and then reverse and curve back up at the end. Here's how those curves help and hinder different types of climbing.
In a single pitch scenario, with a belay coming from the ground either to a leader or a top roping climber, we can still end up with an injured climber on the wall who needs medical attention or assistance getting down. The pick off gets us up to the climber and gets both of us back down again. Here is ascending on a Grigri, and the full video gets into the rescue and lowering procedure.